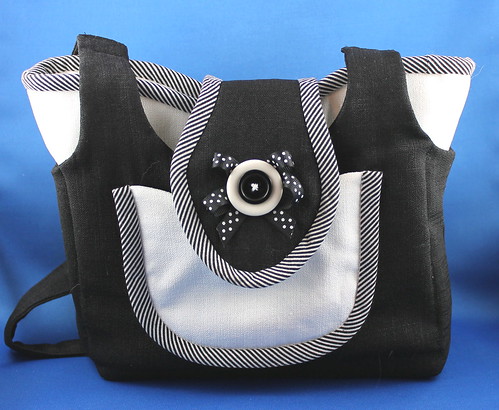
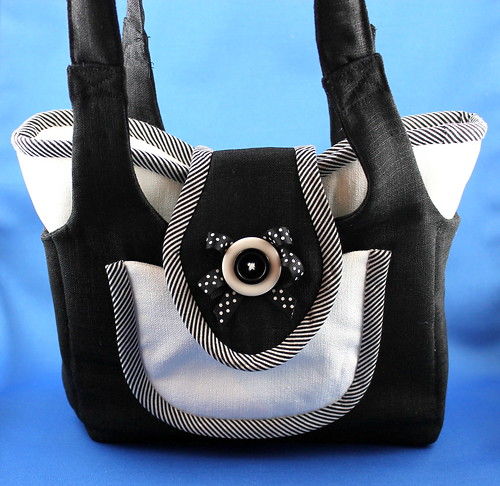
My old purse was wearing out and I couldn't find another that I really liked so I sewed up this little one using "The Nearly Tote-All Purse-O-Nality" pattern from Palm Harbor Patterns.
It measures ll.5"W x 8" H x 2.5" D, and has 5 exterior pockets (4 between the inner and outer purse, and one patch pocket), and two small patch pockets inside.
My thought had been to maybe use the pattern to make Saori purses, but there is WAY too much work in one to ever make them to sell. It took me the better part of three days to sew up!
This little purse pattern is incredibly well designed. Both the inner and outer purse sections are completely lined and have a layer of quilt batting. The inner purse also has a layer of heavy duty interfacing making this purse much sturdier than many home sewn bags of it's type.
I don't love it, but I do like it well enough to use it until such time that I find a purse that I do well and truly love.
A fiber-crafts fanatic who lives to create. I'm also "Wovenflame" on Ravelry, Flickr, ETSY, DoA and yahoogroups.
Tuesday, February 24, 2015
Thursday, February 19, 2015
Introducing Hettie
When Hettie arrived on Tuesday she was all in pieces. I hope it isn't because her trip from China was an ordeal. It did take several weeks.
Once I figured out which side of her "body" was up she she pulled herself together nicely.
Wednesday, February 18, 2015
6 Yard Experiment
I'm not sure where this is headed. I have six yards to play with and I intend to experiment and have fun. Hopefully in the end at least one section will be worthy of fulfilling the warp's original intent which is to be a colourful garden banner.
My initial experiments are not shown. They turned out so poorly that I unwove them and started again. I have discovered that my sett is a little too loose to show the pretty warp colours nicely without using great care in placing the weft, and the weft itself needs to be very fine or it completely obscures the rainbow warp.
So my plan at this point (subject to change as my creative muse guides me) is to weave about 32" of this very loose, gauzy effect, then cut it off, resley the reed with a closer sett, and carry on experimenting. I figure a closer sett will give me more weft options.
In the meantime I'll continue on weaving as I am now for the planned 32". I'll see how that looks off the loom. Because it is so loosely woven it might have a tendency to collapse and become "sleazy". If that happens it may be subjected to some experimental felting. When that is done I might decide to add interest with some surface embellishing.
This semi-transparent effect is being achieved by using one black wool weft strand, that is about equal in thickness to the coloured warp strands, alternating with a very, very, fine silver thread. I'm hoping the silver strand will sparkle in the sun when the weaving is hung in the garden.
Tuesday, February 17, 2015
Wool Rainbow
A gift from my daughter's destashing. 100% wool, Kauni Effektgarn ---
--- and a garden stake meant for holding flags or banners ---
---will hopefully play nicely together and become a Rainbow banner for my garden. I use the term "garden" rather loosely here. I realize that a few tulips gathered around an apple tree does not a garden make. I'm no garderner. Work with me here, m'kay? At least the banner will bring some colour to the mud and grass back there.
I wanted the warp to retain the same colour progression as the yarn did in the balls, but wasn't sure how to go about that. The traditional method of winding a warp has you going down, reversing, and coming back up again measuring each warp strand. That wouldn't work for my purpose because it would reverse each warp strand and interrupt the perfect colour progression.
Enter the wonders of the Internet and online forum friends. I asked for a brainstorming session on this problem and less than 24 hours later someone came up with the solution! They suggested that I measure the warp in a complete circle, and they even pointed me in the direction of a tutorial. The tutorial was written for hand painted skeins being prepared for faux ikat, but it works equally well for any interesting yarn that you want to preserve the colour sequence of. I immediately pinned the tutorial to my Pinterest board so I wouldn't lose it!
I really only need a finished woven length of 29 inches, but that made the colour progression far too slow. I would have only gone through three or four colours before I arrived at the full 14 inch width I was aiming for. So I lengthened my measuring path to a full 6 yards, LOL. My plan is to weave the whole thing off and then decide what section I want to keep for the banner. The rest will likely become part of some sewing project or another at some time. This is feltable wool, so that might be an option too.
Saturday, February 14, 2015
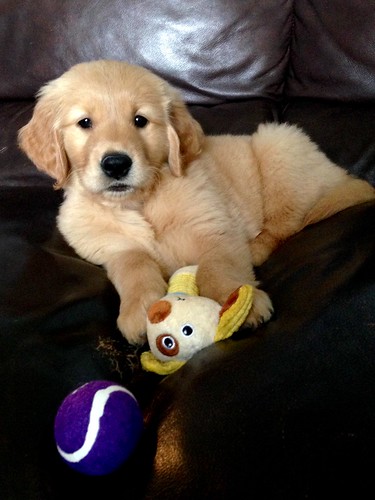
Grand-Puppy, Buddy
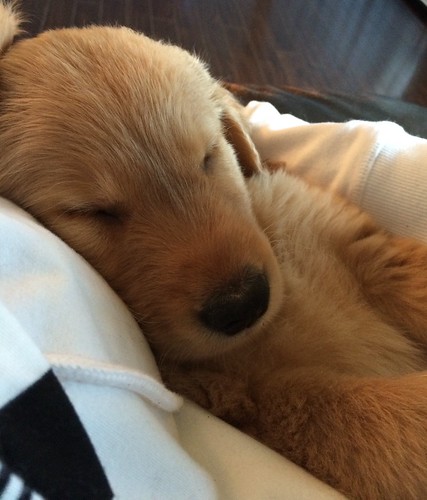
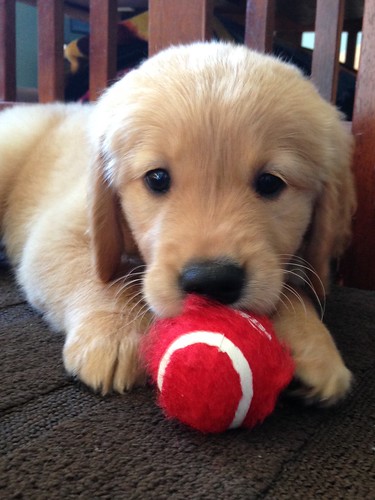
Just last week I was introduced to my new Grand-Puppy, Buddy. He's a Golden Retriever that has been adopted by my daughter and granddaughters.
He was so "baby puppy" back then, less than a week ago.
And now, only one week later, he's a "toddler puppy"!
He was so "baby puppy" back then, less than a week ago.
And now, only one week later, he's a "toddler puppy"!
Thursday, February 12, 2015
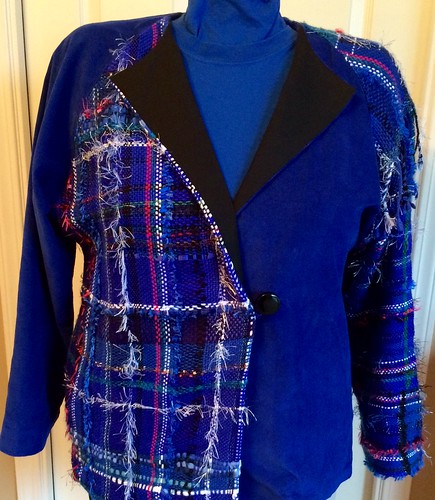
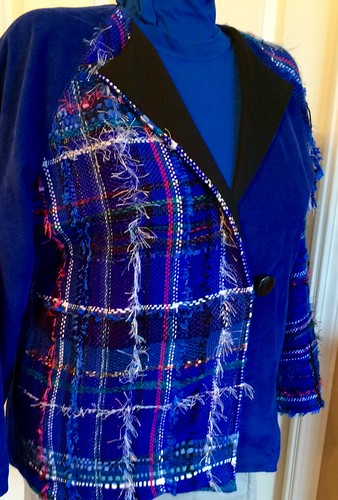
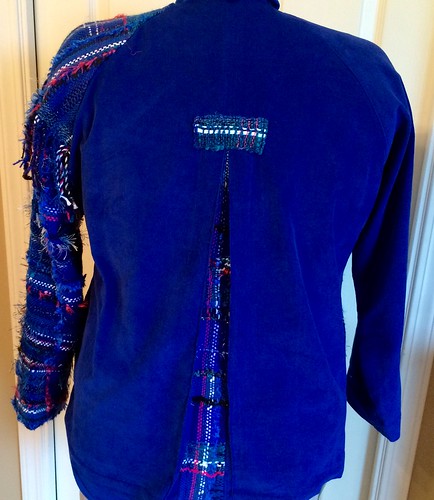
Disappointing Fit
I have mixed feelings about this one.
LOVE the way a bit of Saori weaving peeks out of the back box pleat.
Monday, February 09, 2015
Thursday, February 05, 2015
Blackest of Blacks
The blue warp is still being woven on my Saori loom, but I was sidetracked by some yarn I picked up at Michaels on Monday. I actually went in for something else but changed my mind.
As I mentioned in a previous post the back of my neck has been cold lately, (the asymmetrical haircut is short at the back!), and that has me motivated to make a few cowls and scarves. Basic black goes with almost everything I wear so when I wandered through the yarn aisle and spotted this ---
I couldn't resist starting this:
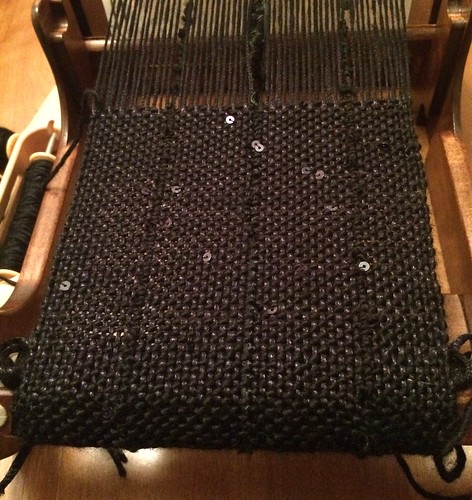
One ball of the Patons Metallic was enough to warp my little Ashford Sample-It loom with a length of over 5 yards. That should be enough for 2 scarves, one for me, and one to sell. Looks like I'll have barely enough of the sequined yarn for one scarf though, so I'll either have to buy more or choose something else from my yarn stash for the weft in the second one.
Wednesday, February 04, 2015
Tuesday, February 03, 2015
Cabernet in Royal
Lately the back of my neck has been cold all the time, which has lead me to search out patterns for cowls, scarves, and neckwarmers!
But still, I do love the feel of it ---- and my neck is cold! So I shall continue.
Progress is slow because my time and attention is divided among so many different projects right now. It's also a fairly complicated lace and 8 stitch cable combination that is slow to knit --- especially in a dark yarn that splits easily. Most days I only get about 4 rows done before I wander off to pursue one of my other interests.
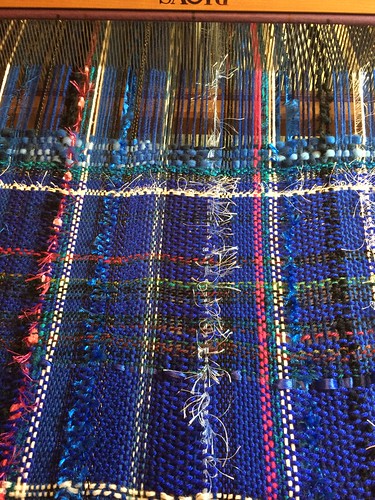
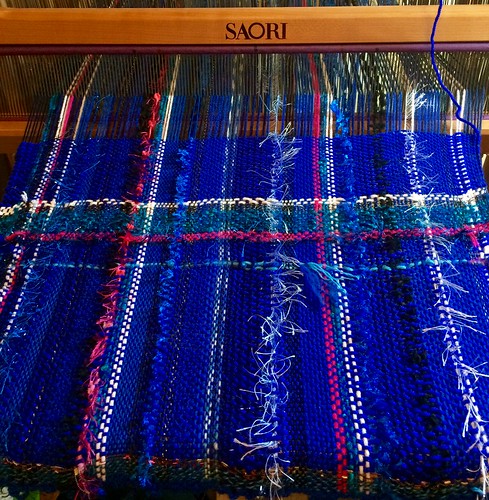
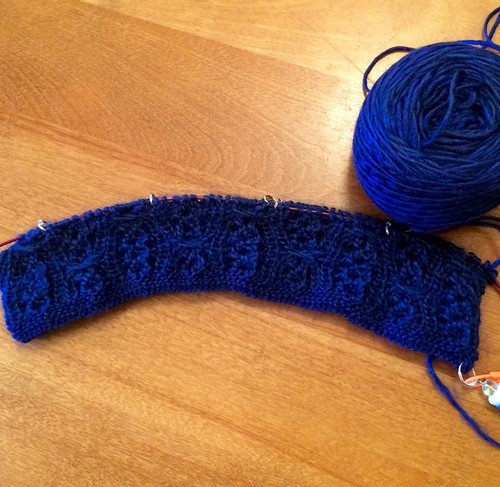
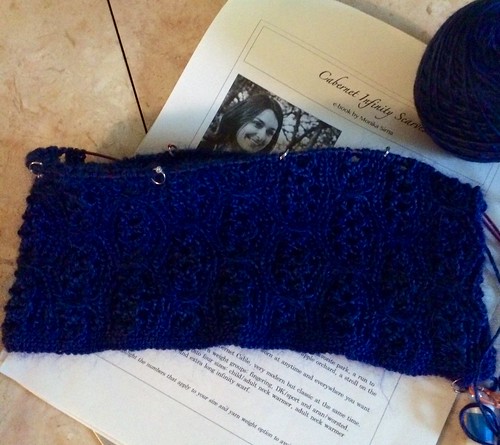
On my needles right now is the Cabernet Infinity Scarf (in the "adult neckwarmer" size). I'm knitting it in a 50/50 alpaca/tussah silk blend, Knitpicks Diadem Solid, in "Sapphire". My opinion of this yarn is mixed. On the one hand I LOVE the rich, intense colour, the sheen, the ultra soft feel, and the luxurious drape to the yarn. But on the other hand it is a very splitty, making it hard to work with and it looks like it might fuzz and show wear quickly.
But still, I do love the feel of it ---- and my neck is cold! So I shall continue.
Progress is slow because my time and attention is divided among so many different projects right now. It's also a fairly complicated lace and 8 stitch cable combination that is slow to knit --- especially in a dark yarn that splits easily. Most days I only get about 4 rows done before I wander off to pursue one of my other interests.
Monday, February 02, 2015
This Will Take a While
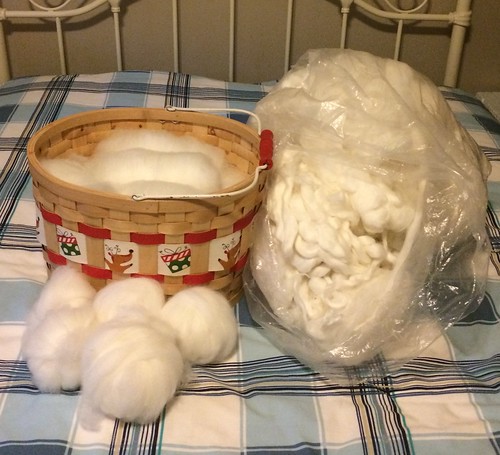
Last week, in preparation for a Spin-In I attended on Saturday, I looked through my stash in search of something to spin. I don't actually have much on hand right now, especially anything that is ready to spin as is. So I decided it was time to go to work on the huge bag of wool I've had in my stash for years now (on the right in the picture below).
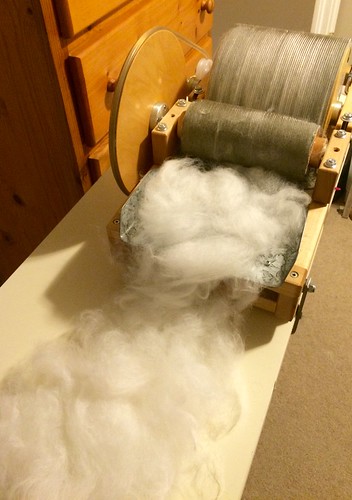
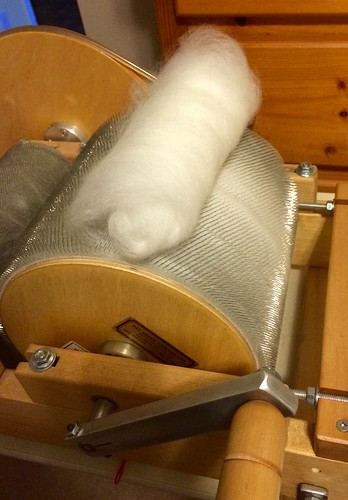
This was a bag of "mill ends" purchased for a ridiculously low price from a middleman that was getting the discards from a commercial yarn processing factory. It has to be carded though, which is what the hold up was. I have this great Patrick Green drum carder so that will help. It's a "Deb's Delicate Deluxe model. But even before the wool can be processed with the drum carder there is a fair bit of prep work to be done. Because this particular batch of mill ends is quite tangled I must hand "pick" the wool into fluffier, stringless clouds before it will feed nicely into the carder.
Before spinning I extenuate the batts into a long thin roving that I roll into a ball for ease of handling. Results of that process are the balls of wool laying in front of the basket in the first picture, above.
I'm aiming for a thicker yarn than I'm accustomed to spinning. To accomplish that I will be spinning slightly thicker singles and then plying three together. The plan is to spin ALL of the wool in this natural/white colour and then dye it as I deem necessary for individual projects along the way. Much of it will likely find it's way into my weaving.
This was a bag of "mill ends" purchased for a ridiculously low price from a middleman that was getting the discards from a commercial yarn processing factory. It has to be carded though, which is what the hold up was. I have this great Patrick Green drum carder so that will help. It's a "Deb's Delicate Deluxe model. But even before the wool can be processed with the drum carder there is a fair bit of prep work to be done. Because this particular batch of mill ends is quite tangled I must hand "pick" the wool into fluffier, stringless clouds before it will feed nicely into the carder.
First pass: Picked "cloud" on its way through.
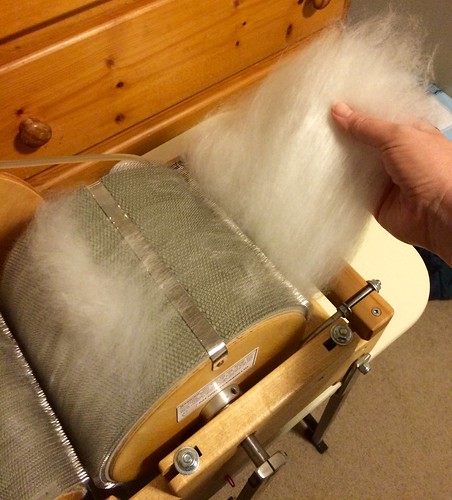
The results of the first pass being pulled from the drum.
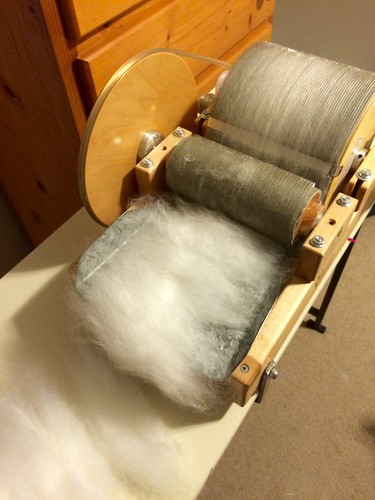
The aligned fibres from the first pass being sent through the drum carder a second time.
The carded wool is then rolled into a tidy "batt" and set aside for later spinning.
Before spinning I extenuate the batts into a long thin roving that I roll into a ball for ease of handling. Results of that process are the balls of wool laying in front of the basket in the first picture, above.
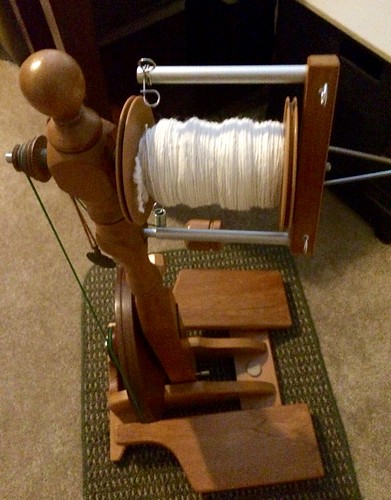
And then of course the actual spinning being done on my Majacraft Little Gem II.
I'm aiming for a thicker yarn than I'm accustomed to spinning. To accomplish that I will be spinning slightly thicker singles and then plying three together. The plan is to spin ALL of the wool in this natural/white colour and then dye it as I deem necessary for individual projects along the way. Much of it will likely find it's way into my weaving.
Sunday, February 01, 2015
TUTORIAL - Diagonally Striped Cushion
A discussion came up on a weaving forum I'm a member of. A project picture showed a handwoven cushion cover where the warp and weft were diagonally positioned. A member was wondering how that was done. I knew I had seen somewhere how that can be done, but I had a hard time describing the technique.
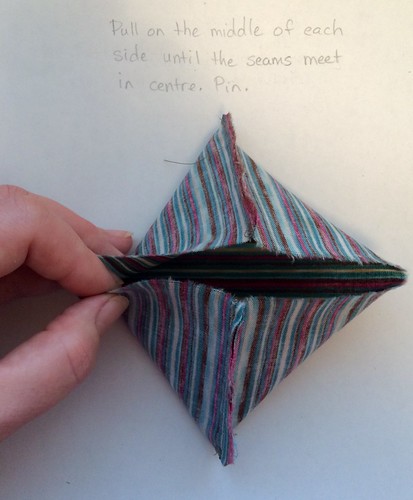
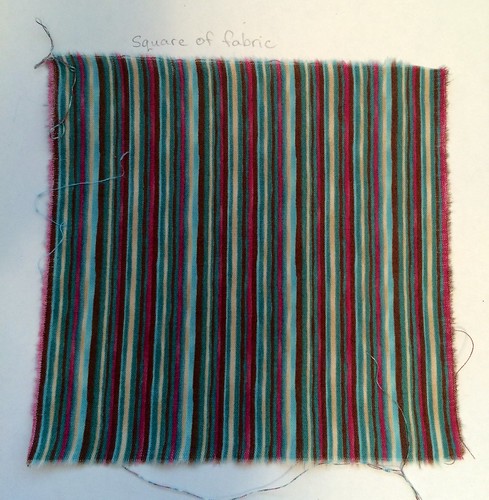
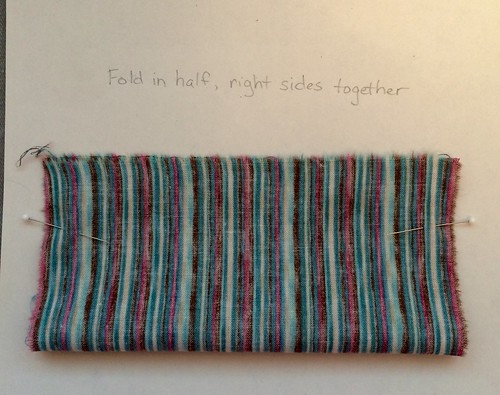
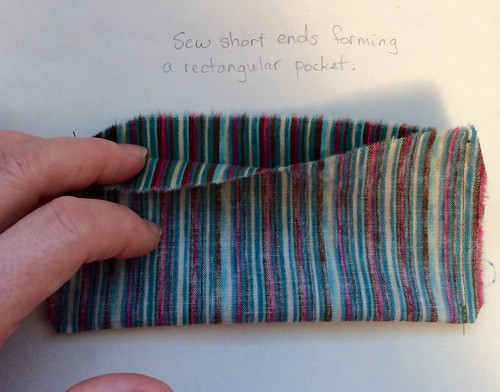
I searched and searched on the internet but could not find a tutorial anywhere, so I decided to quickly sew a little sample and write the tutorial myself. Turns out this is not the exact way that the forum member used for her pillows, but it is a way that works, she thinks perhaps better than the way she did hers.
Of course if you plan on inserting a full sized pillow form you will need to leave a large enough gap in that final seam to fit the pillow form through.
The "front side" of the pillow cover will have diagonal stripes with no seam lines. The "back side" of the cushion will have diagonal stripes with seamlines meeting in the centre.