The resin kids really wanted to hang their stockings on a fireplace this year so they begged me to build one.
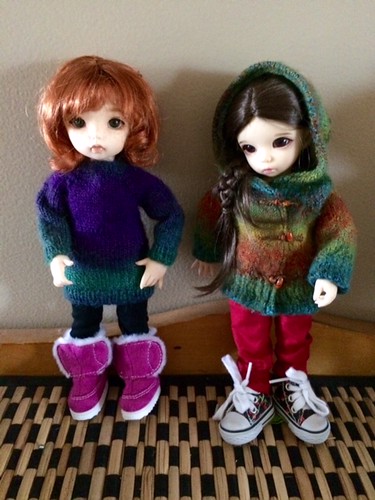
Please pardon the blurry, poorly set up photos in this post. All the pictures are taken on the fly, in low light, with just my camera phone.
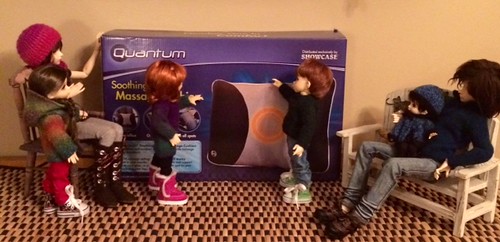
First a box of an appropriate size and shape needed to be chosen and agreed upon.
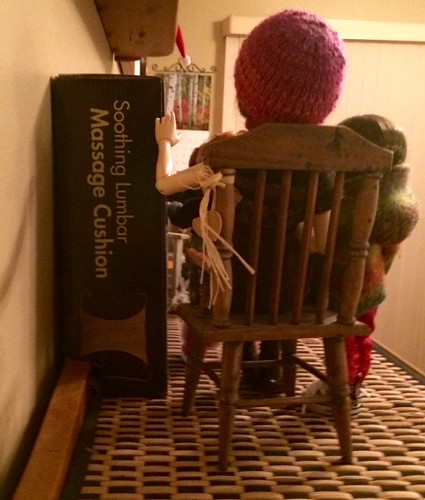
Then I had to cut a notch out of the lower back side of the box so that it will fit over a raised facade at the back of the cabinet the resin crew lives on, minimizing the space the structure will take and allowing it to sit firmly and securely against the wall.
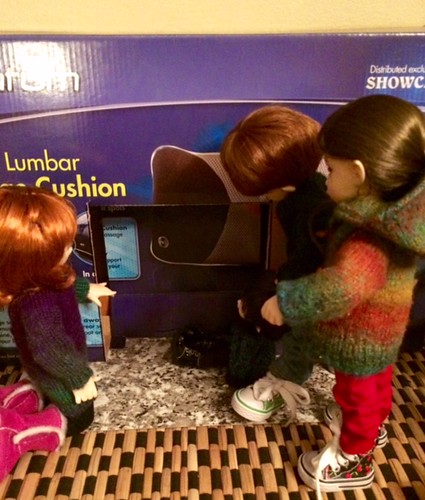
Then following a "MyFroggyStuff" tutorial a hole was cut and folded to create the firebox.
The resin kids inspected it closely to be sure it was large enough for Santa.
That's as far as I got yesterday because a bit of a shopping trip was required. "Paper Clay" was needed and it is far too expensive to buy, but I found a tutorial online for a home made variety. I had the dry wall filler and the white glue already but needed to go out to find mineral oil and black Duck Tape. While at Walmart I also found a large bag of small river stones.

The Duck Tape is used to stabilize the folded cardboard of the firebox and to give it a realistic black colour.

It was then time to mix up the batch of home made paper clay. I didn't want to destroy my electric mixer, bowl, measuring cups, or utensils by allowing paper clay to dry on them as hard as a rock so I filled my kitchen sink with hot sudsy water before I started and dropped those items into the sink as I was finished with them.
I forgot to take pictures of all the making and spreading of the paper clay "mortar", but it was fun. The first step of the recipe was to throw a roll of toilet paper into a bowl of water. How could that not be FUN?!
So then I spread the paper clay over the face of the box, much like icing a cake. While it was wet I pressed small river rocks into the "mortar".
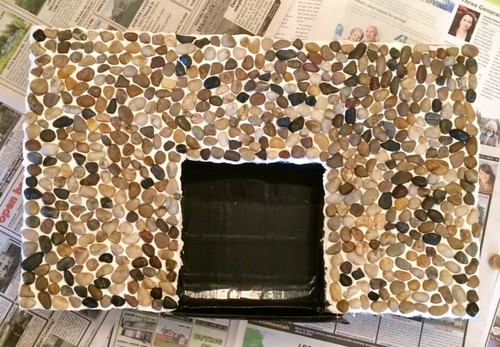
I've only done the front face at this point. The rocks are heavy and I don't want them sliding or dropping off before the paper clay has a chance to dry. I'll do the sides when the work so far has dried. I have NO idea how long that will take.
While that's drying perhaps I'll work on creating some small stockings. After all if they are going to hang stockings I guess they will need some?
No comments:
Post a Comment