Translate

Saturday, June 27, 2015

Another First

With the heat wave we are having it was nice to get out of the overly hot house and sit in an air-conditioned bead/jewelry shop to take a wire wrapping class.


With the supervision and assistance of Svetlana Ivleva, the instructor at "Sparkling Ideas" in the Chilliwack Mall, it was not hard to create an earring that I am pleased with.


Earring, singular, because of time constraints, but, with my asymmetrical hair cut, I only wear ONE 'statement' earring anyway. On the other side, where my hair is much longer, I just wear a tiny silver ball stud.


Looking at the enlarged pictures, and remembering my numerous errors, I know that there is lots of room for improvement!


But that's okay, because I'm happy with this beginner project, and practicing will be FUN!


Friday, June 19, 2015

Beginner Class

Overall I'm pretty pleased with the results of my first attempt to make a rose with polymer clay. The class was a lot of fun and I learned a lot.


I'm very happy with the rose and the little accent flowers. Once photographed I can see that the leaves look too thick and chunky though. Next time I'll work on getting those thinner and more delicate looking.


While I would have limited use for polymer flowers, I do want to give creating polymer clay beads a try. Having the ability to create unique beads for jewelry would be worthwhile. Still, I don't think working with polymer clay will become a huge thing in my life --- more like an occasional side interest, especially if I am wanting a particular piece of jewelry that I am not able to find in stores.

I do believe I'll take a closer look at polymer clay how-to books next time I'm in Micheals.

Wednesday, June 17, 2015

ANOTHER Hobby?!

More hobbies (yes plural) are not something I need right now, but I'm about to start TWO more!

I've been searching for earrings of a very particular size and shape lately and haven't been able to find them in stores so I decided to learn to make them. I went into Sparkling Ideas, a local bead store, to sign up for an evening of instruction in wire wrapping. That class is in two weeks. While there I saw this beautiful polymer clay rose. Turns out there is a class for THAT too.


Sunday, June 14, 2015

Not So Bad

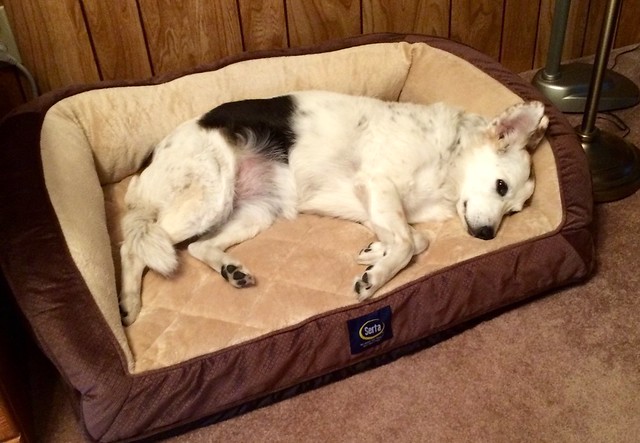
So today Shelby is rethinking her initial rejection of the new bed.

Better than she initially thought.

In fact, I think she quite likes it.

Saturday, June 13, 2015

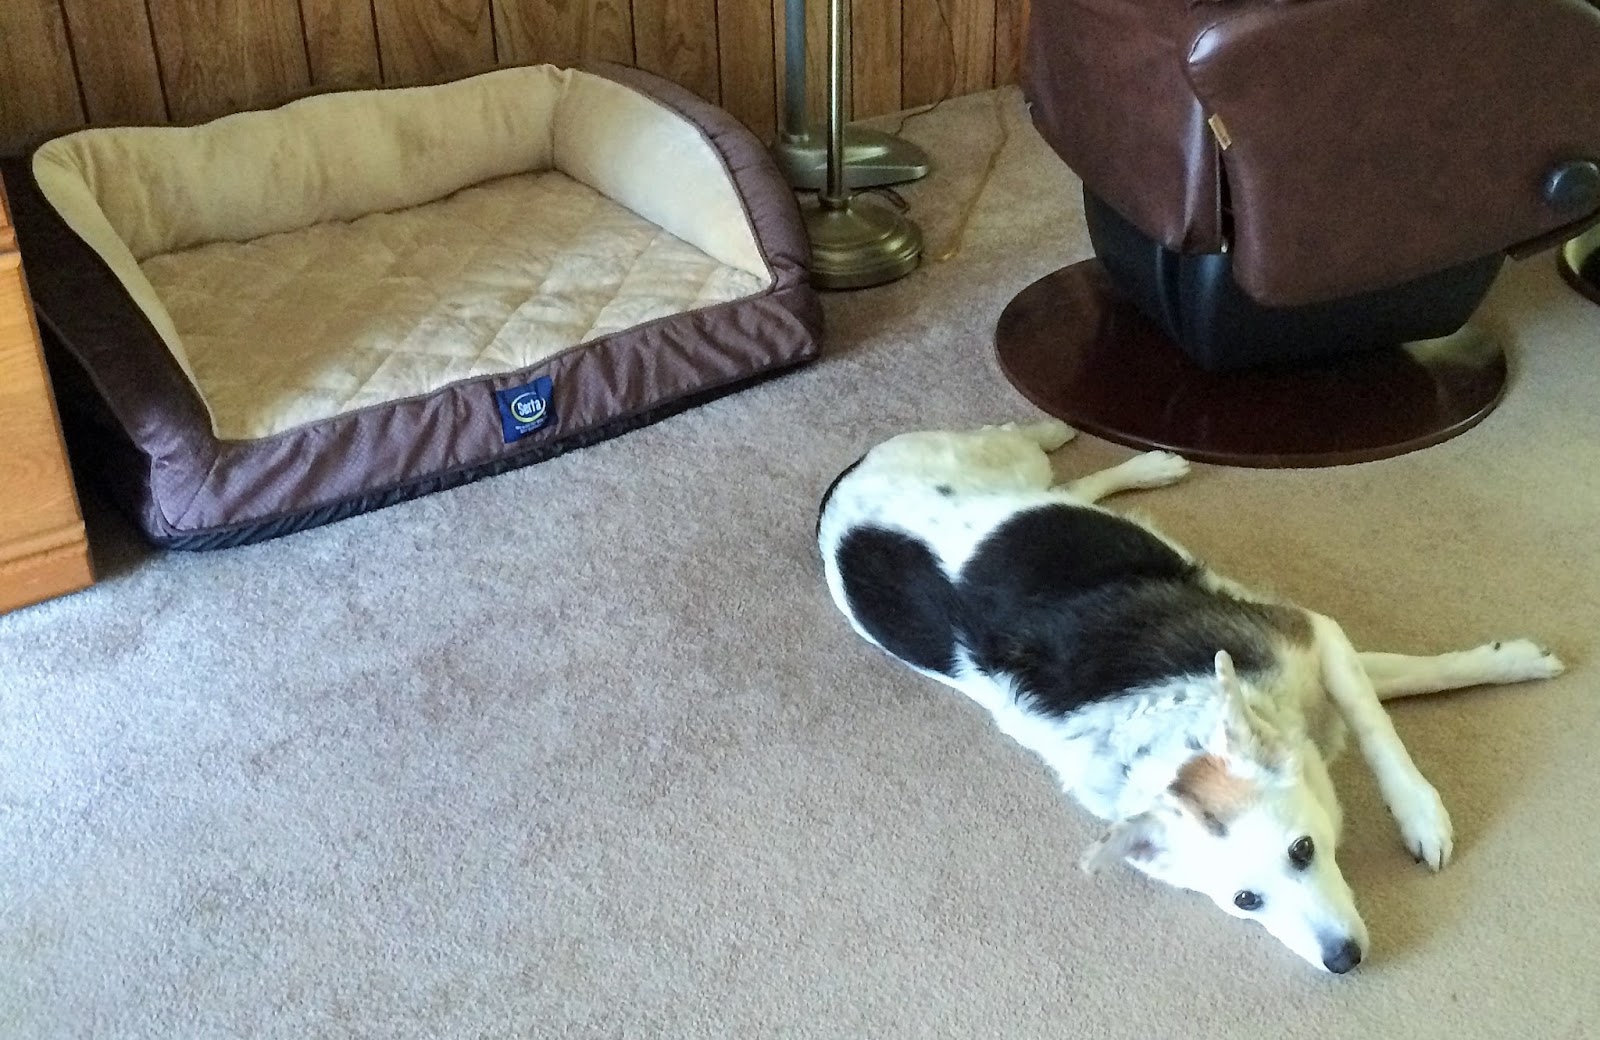
Ingrate

I spent $70 for a fancy orthopedic Serta bed for her to ease her aching, arthritic hips and she lays on the floor!


To be fair she IS laying in it at the moment, but only after being coaxed to do so.

Sunday, June 07, 2015

A Little Lace

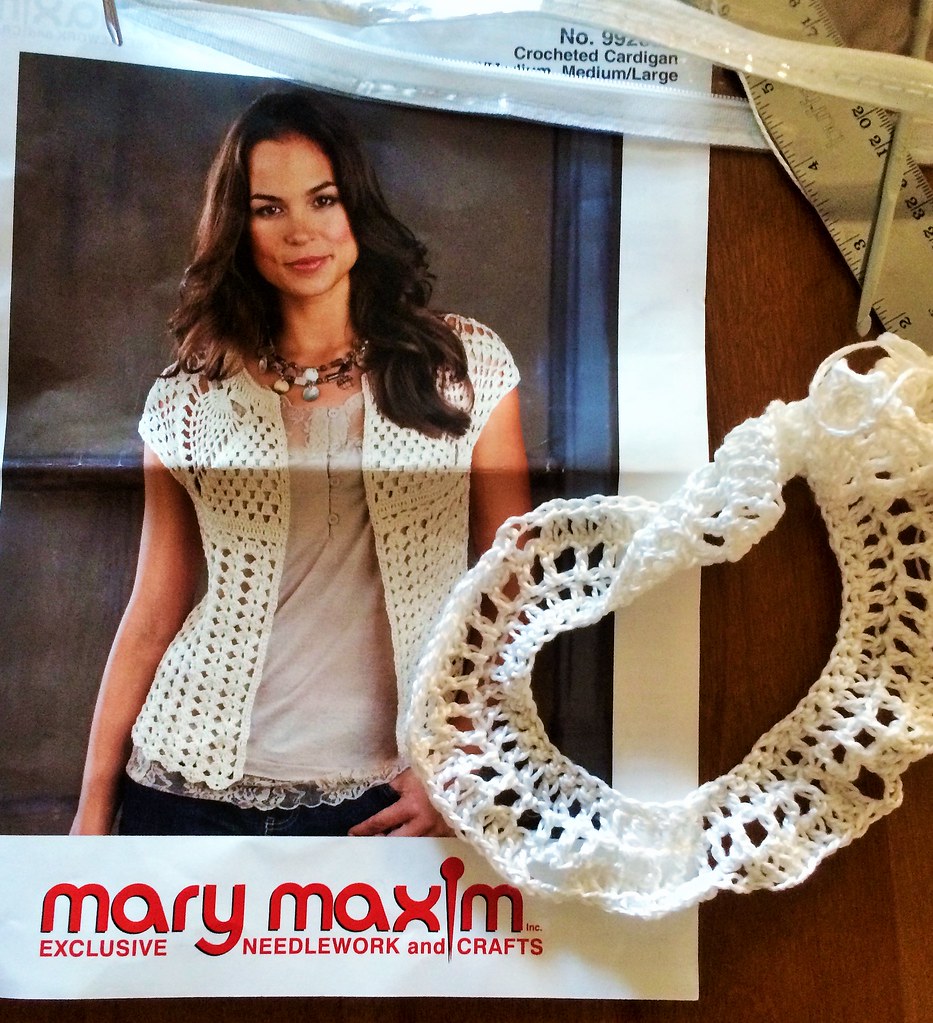
I've been seeing a lot of summer over-blouses in stores these days. The sheer or lace tops are modeled over simple tanks and camisoles. Perhaps now is a good time to crochet a little vest by Mary Maxim?

New project

I'm making it for myself, from the Mary Maxim kit which includes a 1 pound cone of sport-weight cotton, but I'm hoping that after I have worked the pattern once, and understand the construction, I'll be able to down size it for Elfonda, my Fairyland Minifee. That would likely require using a tiny hook and sewing thread.

Saturday, June 06, 2015

Wishing for a Model

I always find getting modeled shots of my creations so awkward!


I wish I had a 'real' model for that task.


Someone who knew just how to stand.


And could be relied on to not have a dorky look on her face spoiling the picture. LOL


But anyway, these pictures should give you an idea of how the tunic actually fits.


And a better look at some of the details. For instance I don't think it was apparent on the hanger that the cap sleeves were slit.


This little detail helps both the sleeve and the body of the garment hang a little better than the 'winged' look one gets when rectangular, one piece, body/cap sleeve arrangements are sewn all the way across the shoulder/sleeve seam.


Wednesday, June 03, 2015

Summer Tunic

I finally finished sewing the Lemon Yardage into a summer tunic.


I plan to wear it tomorrow for a demonstration of Saori style techniques that I'm doing for our local guild.


The holes in the right front are slits created during the weaving process. They were then embellished using a technique called "Picot Beading".


I also beaded the edge of both lapels.


The pretty dragonfly button was a gift from a friend and fellow guild member.


The pocket was formed by folding up the bottom edge.


I'll try to get a few modeled shots when I'm wearing it tomorrow.


Monday, June 01, 2015

Treasure for My Granddaughters

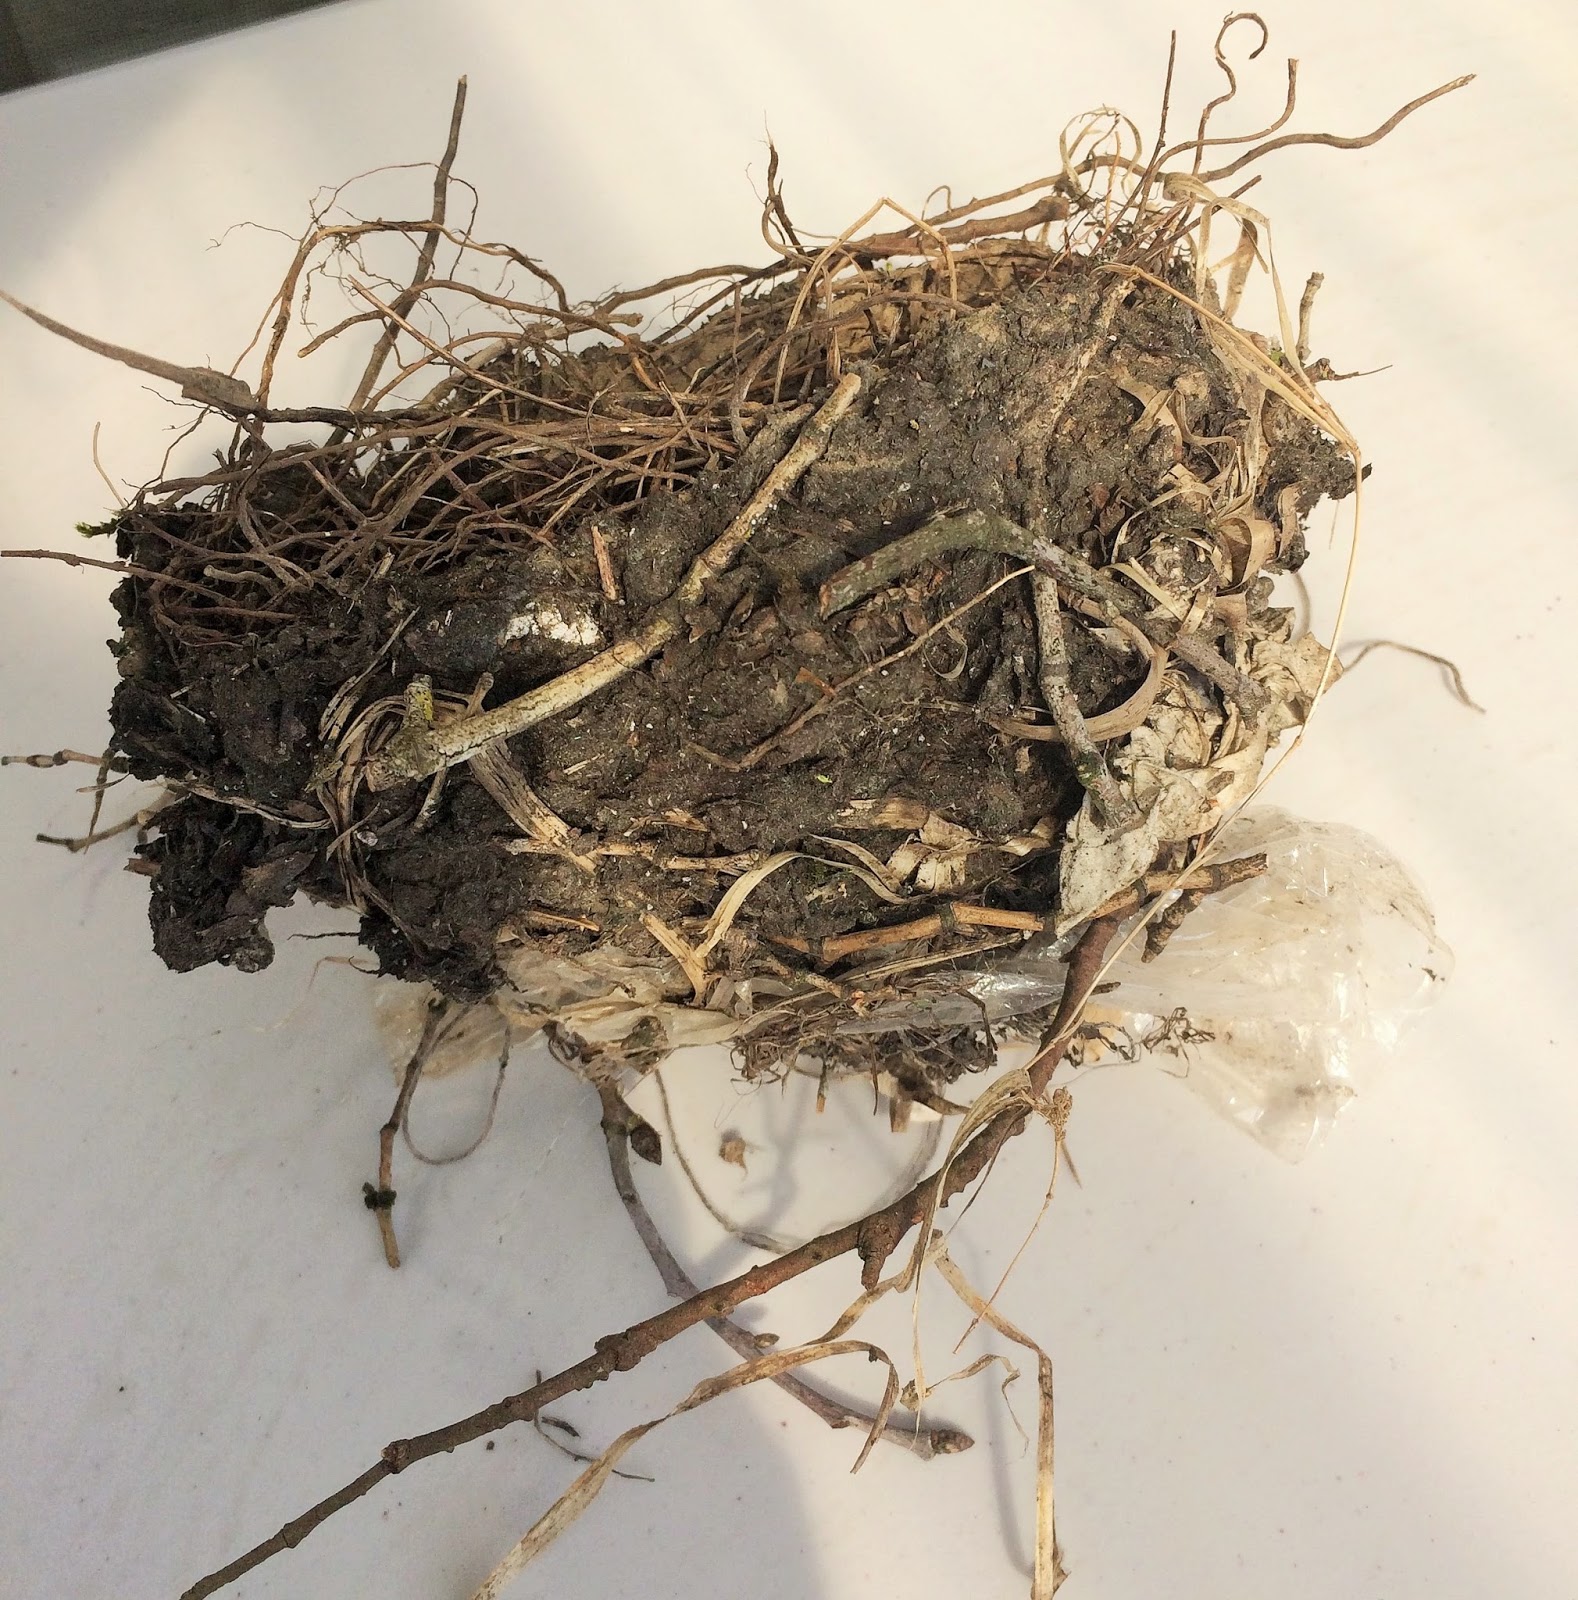
When out for a walk this morning I came across a treasure!


It was laying at the base of a tree, discarded by it's previous owners. Looking at the bits of remaining, light blue (possibly speckled) shell fragments, I'd say they successfully raised a family. 


I'm not up enough on nest/shell identification to speculate what type of bird may have created this nursery, but it sure has a lot of interesting inclusions. 


One of the interesting bits is a clearly labelled, cellophane, "Allan's" candy wrapper. There are also other bits of paper and plastic right alongside the more traditional building materials like straw, bark, leaves, mud, and sticks.


I can't wait to show my granddaughters! Maybe they'd like to take it to school for Show and Tell and then perhaps donate it to the school for other classes to see as well.

It's very sturdy and well built. I might take it to the wild bird store and see if they have any thoughts about what type of bird may have built it.

Sunday, May 31, 2015

Ready for Thursday

The loom is warped and ready for the demo of free style weaving techniques.

Warped and ready for Thursday's demo.


I still have to decide which techniques I'll try to cover, and then gather all the related supplies, make sure I have filled some bobbins with appropriate yarns, and give a little thought to the order in which I'll demonstrate the techniques.

Wednesday, May 27, 2015

Monday, May 25, 2015

A Shrug and a Shrug

When my warp tension went awry on that natural coloured weaving posted about earlier I cut off the first few feet and re-beamed the whole thing. It turned out to be well worth the effort.

On the advice of some of the forum members of a Saori weaving group on Ravelry I went out and purchased poster board and cut it into strips that were exactly the width of my warp beam. Then I rolled the warp forward all the way and re-beamed, this time placing the strips of poster board as I went. I did the "yank 'n' crank method of reintroducing an even tension and everything moved forward smoothly.

While I was in the 'redo' mode I also chose to pull the warp ends out of the Comb Reed but not the heddles. This way the warp ends stayed in order and I was able to then resley them through a regular reed with slightly wider spacing. It worked well and I continued to weave off another 3 table runners.

Natural light from the side. Perfect weaving lighting.

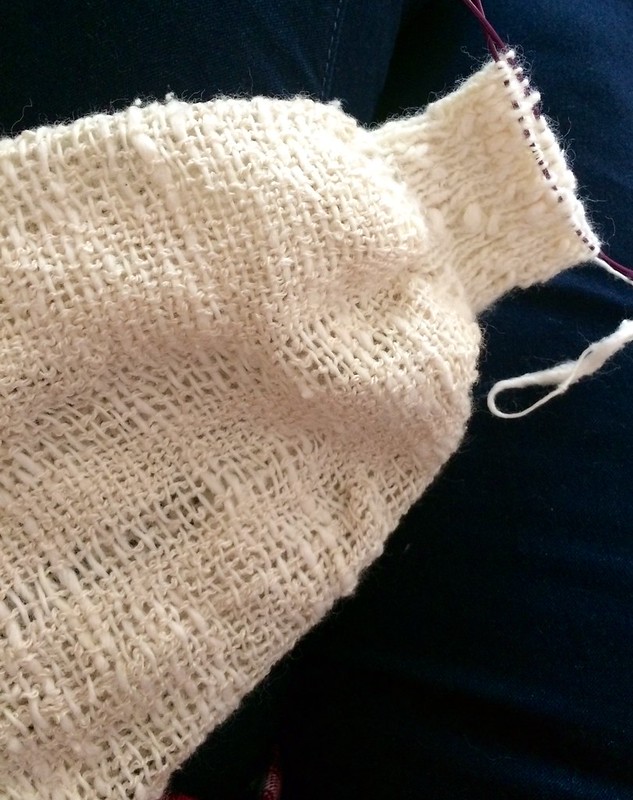
What happened to the wonky part from the beginning when the tension when awry? Well it certainly could not be used as a table runner. The edges were much tighter than the middle because of the warp spreading issues. It wouldn't lie flat, but as I looked at the piece I realized it was long enough to be a shrug, and for that use the tighter selvedges were actually an advantage!

Another creative idea that just wouldn't wait it's turn.

Soooo, ~*shrug*~ I'll go with the flow and "allow" this portion of the warp to be a lovely shrug instead. I'm knitting cuffs and most likely an edging along the top and bottom.

Yay for 'mistakes' that force us to think outside the box.

Thursday, May 21, 2015

Elfonda's New Outfit

My sewing project from last week. Just got around to photographing it now.


The blouse pattern is "Heaven Sent" by Adams-Harris. 


A lot of work to that pattern! Front facing/faux button-band, 4 rows of elastic shearing at the waist, sleeves that are puffed at the shoulder and gathered with elastic at the arm, buttons and snaps to sew on.


It will be a while before I try that one again. One must allow time to forget labor before they attempt delivery again.


The pants pattern is "Off the Top", also by Adams-Harris. The fit is excellent and they were easy to sew.


This is her sixth pair! She now has yellow, orange, white, hot pink, red (which I haven't photographed yet) and navy blue (which she acquired from a previous Minifee).


She has a better wardrobe than I do!


Wednesday, May 20, 2015

Topless Tryout

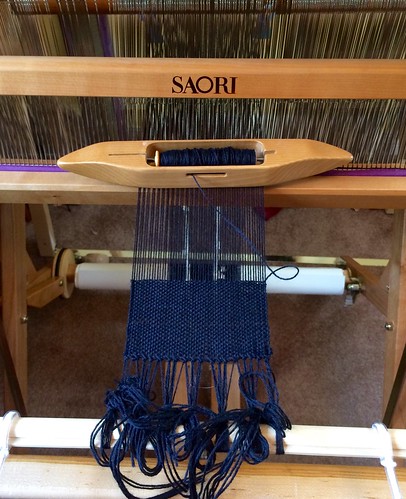
I decided that since the Lemon Yellow warp ended faster than I expected I might have time to do a quickie weave before my loom is needed for the guild demo in June. I've been meaning to use up a hoard of not-quite-cotton yarn I've had sitting around for awhile, so now is the chance.
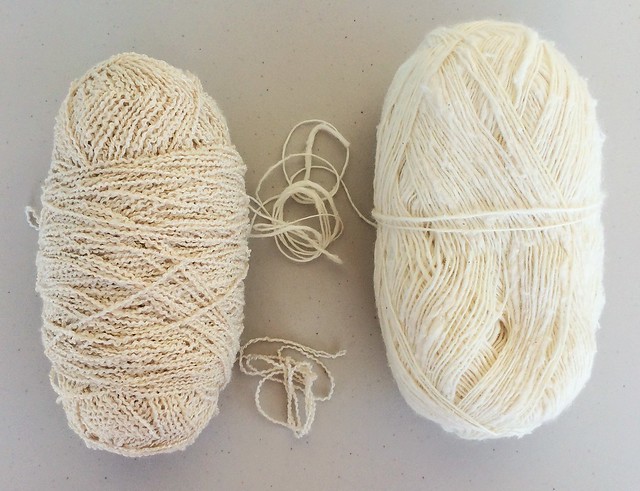
Unlabeled Synthetic

These are unlabeled yarns that I picked up a few years ago during the Zellers closing out sale. They came in bags of multiples of about 4 if I remember correctly. They were SO cheap that I stocked up despite not knowing what the fibre content was. They both look and feel very much like cotton, especially the slubby single on the right, but burn tests have since proven they are actually a synthetic of some sort.

I've woven very successfully with these before. Boucle as warp, slubby single as weft.
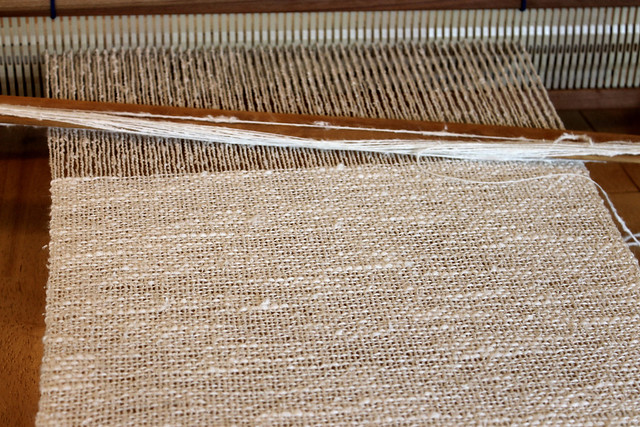
rigid heddle loom and plain, textured weave

In fact, I made runners for all of my bedroom furniture. Because the yarns are actually synthetic they washed and dried beautifully without much shrinkage.
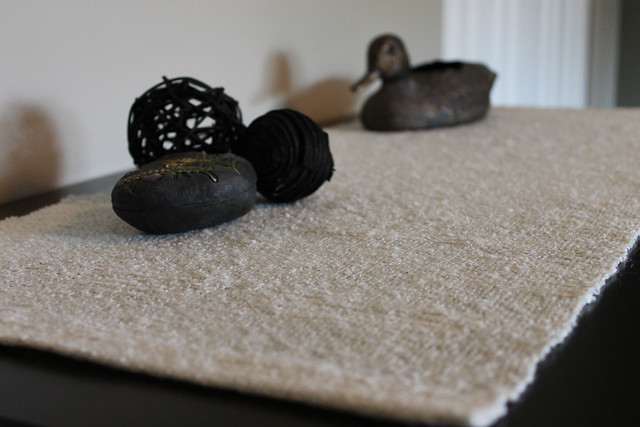
textured plain weave

This time I thought I'd experiment with going topless. (I imagine that phrase will pick up a few hits from 'new' readers who will ultimately go away disappointed!)

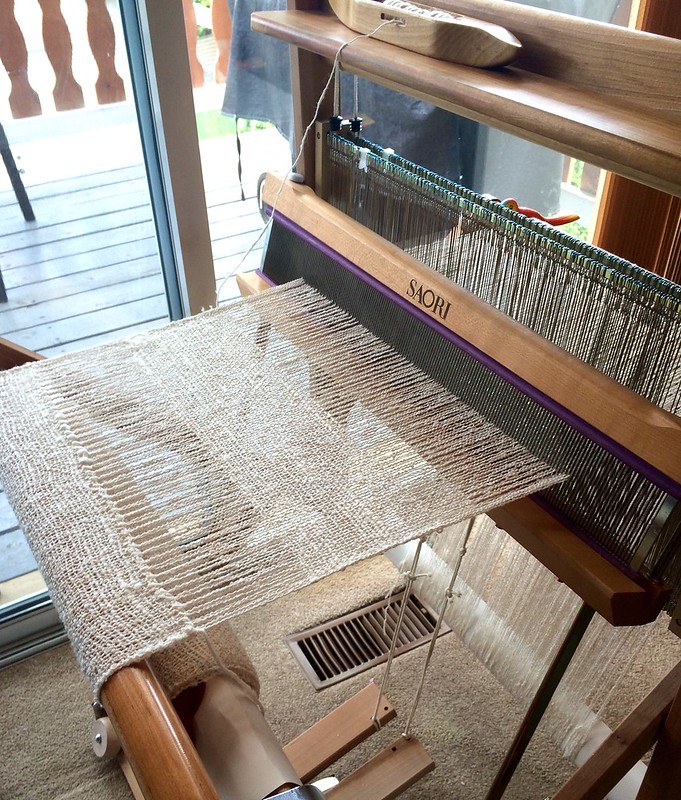
What I'm actually talking about is the Saori "Comb Reed". It has an open top and is used for moving the warp threads about during the weaving process. If you look closely in the next picture you can see how the Saori Comb Reed sits with it's 'teeth' just in front of the beater cap during the weaving.

I used this reed successfully with the Lemon Yellow warp that I just completed, but I'm not sure how I feel about it with this combination of monotone warp and weft. I think perhaps the technique presents better when a contrasting thread highlights the wandering warp threads.
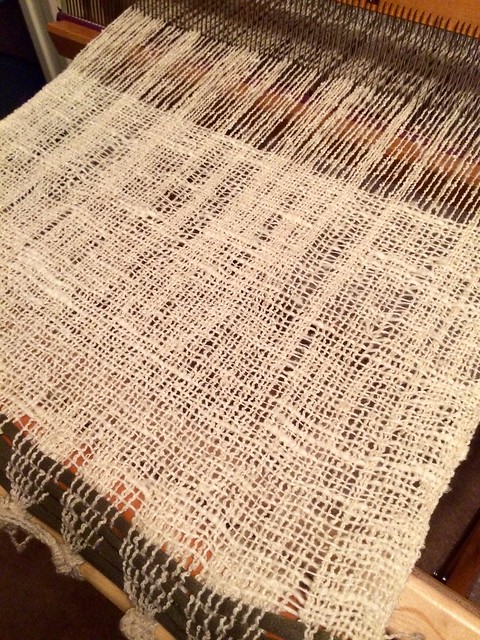
Wandering warp

Opinions? If you speak up quickly in the comments you might influence my decision.

At this point I'm leaning toward finishing the rest of the 6 metre warp with the threads aligned and not wandering. Somehow the plain weave without the distraction, (or 'interest' depending on your perspective), just seems more "Zen" to me right now and I really could use a peaceful, mindless, meditative weaving experience this week.


Sunday, May 17, 2015

Suddenly the End Was In Sight

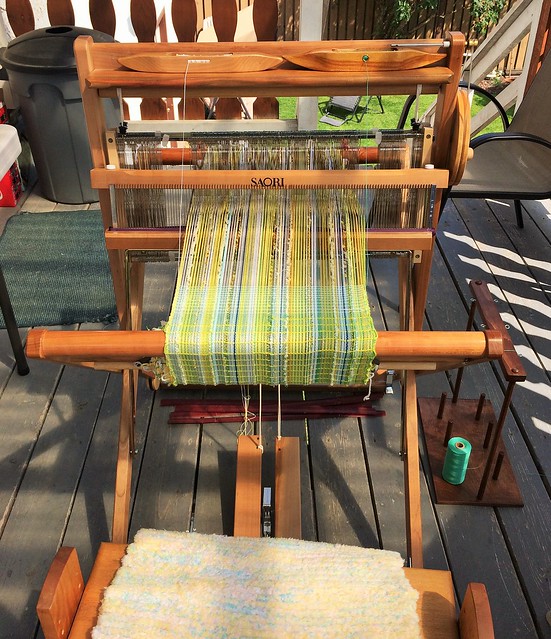
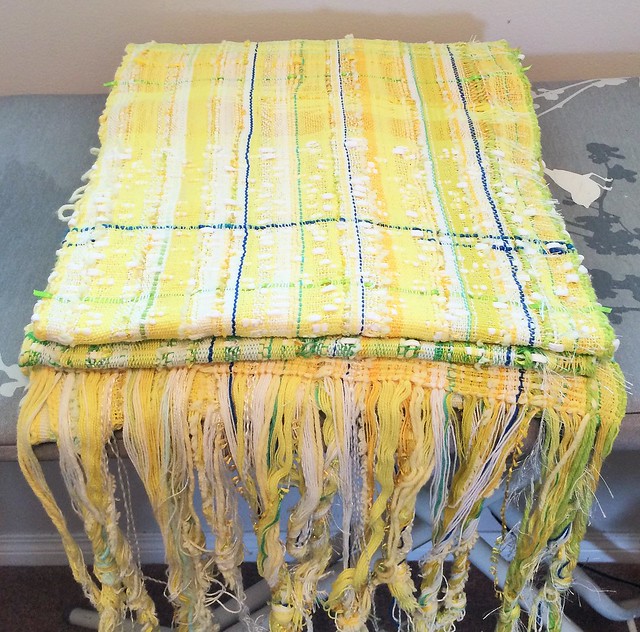
I had an 8+ metre long, primarily yellow warp languishing on my loom for many weeks. I had only just started weaving it off when other things caught my interest and I wandered off. Then we had a couple of days with really nice weather and I did the remaining 80% of the warp in only two days!

Weaving outside would be so much more relaxing if I could hear the birds rather than the obnoxious neighbour's loud music.

I washed, dried, and pressed the entire length today.

IMG_2901

Those warp ends aren't as snarly as they might look. Each large bundle is tied in a simple overhand knot to prevent things from getting out of hand. I'm not sure if I'll be using the fringe in the garment I sew from this yardage so I didn't want to waste my time fiddling with it. If I decide to use the fringe I'll twist the sections I use at that time.

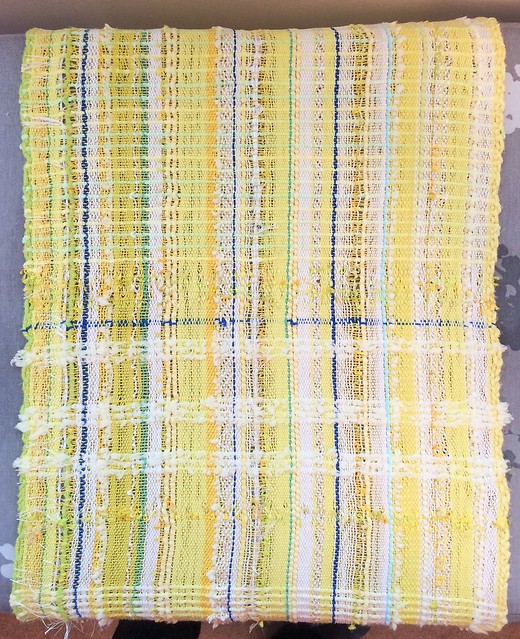
Here's one of my favourite sections:

IMG_2900

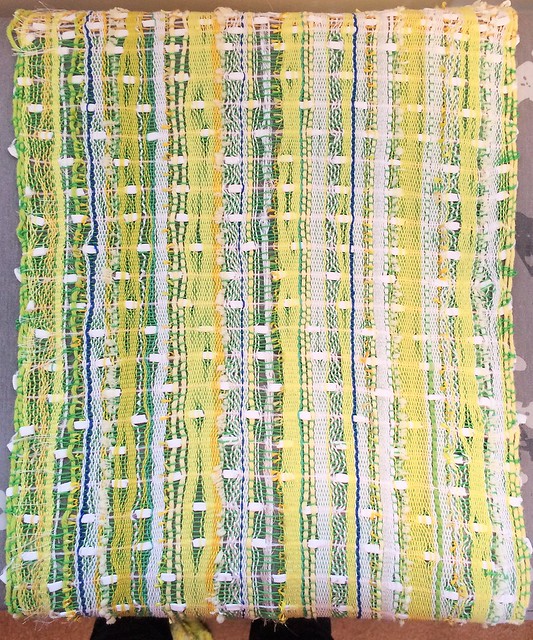
And another:

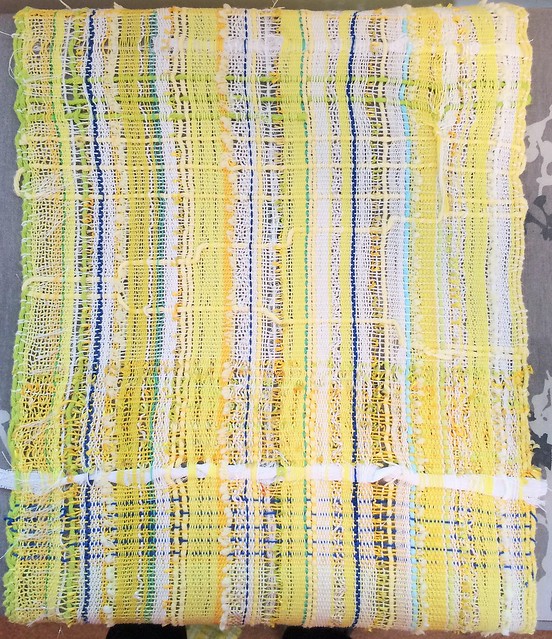
My favourite section

I took 19 photos while pressing the finished cloth, one as each section passed over my ironing board.

IMG_2893

If you are interested in looking at any of the other photos they are viewable on my project page on Ravelry, or on Flickr. Click on the photo to be taken through to my Flickr account. Once there you can even click on the photo again to get an extreme closeup view.

Thursday, May 14, 2015

Truly Canadian

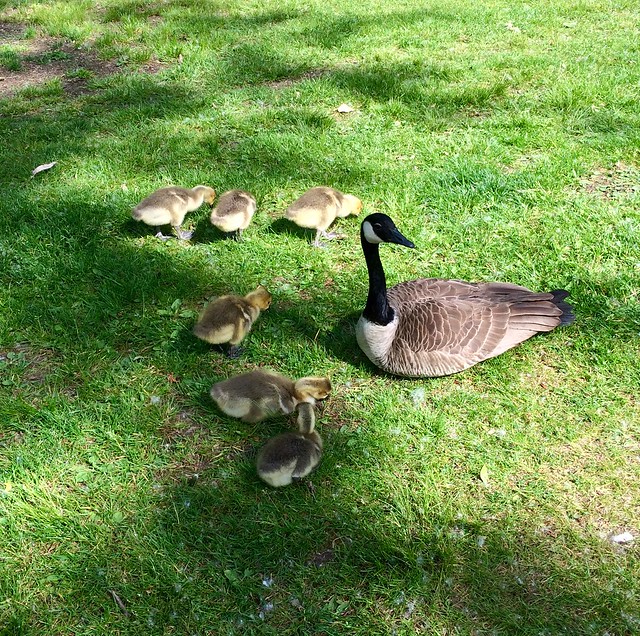
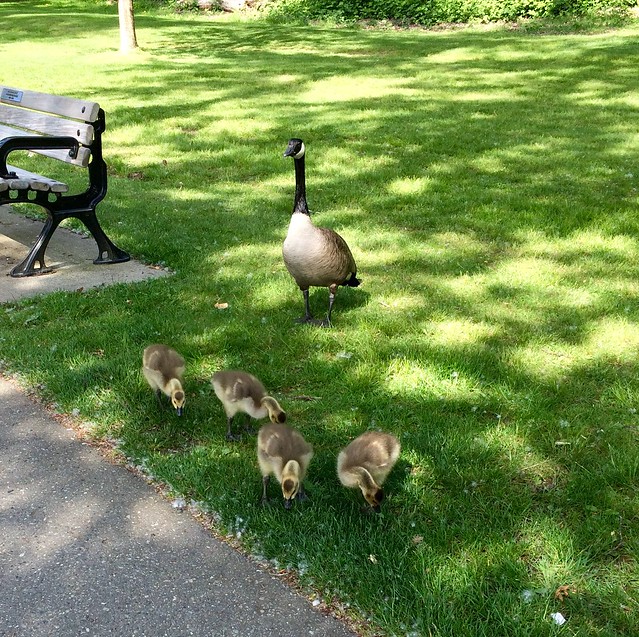
These fuzzy little goslings are true Canadians, Canada Geese dwelling in a busy public park.

  Not afraid to show off the babies.

There were three sets of parents and at least 14 goslings all in the same small area right along a well used public pathway. The adults seemed quite relaxed and unworried about the people who stopped to take pictures of their babies.

  Canadian hatched.