Translate

Sunday, November 23, 2014

Miniature Stone Work

The things my doll hobby gets me into! Now I'm building a river rock fireplace.

The resin kids really wanted to hang their stockings on a fireplace this year so they begged me to build one.
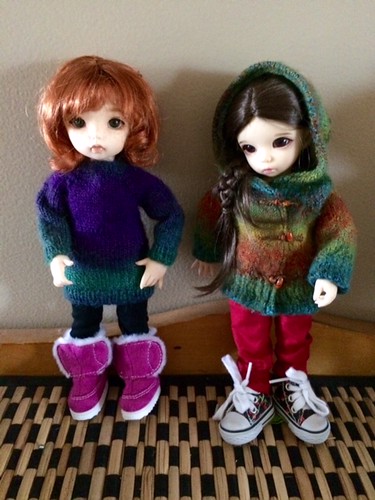
Looking for suggestions

Please pardon the blurry, poorly set up photos in this post. All the pictures are taken on the fly, in low light, with just my camera phone.

First a box of an appropriate size and shape needed to be chosen and agreed upon.
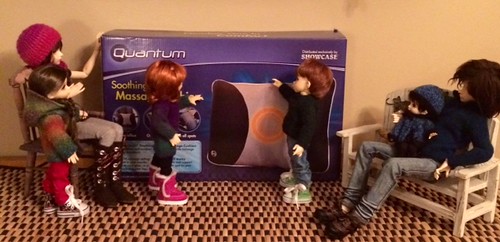
Step One

Then I had to cut a notch out of the lower back side of the box so that it will fit over a raised facade at the back of the cabinet the resin crew lives on, minimizing the space the structure will take and allowing it to sit firmly and securely against the wall.
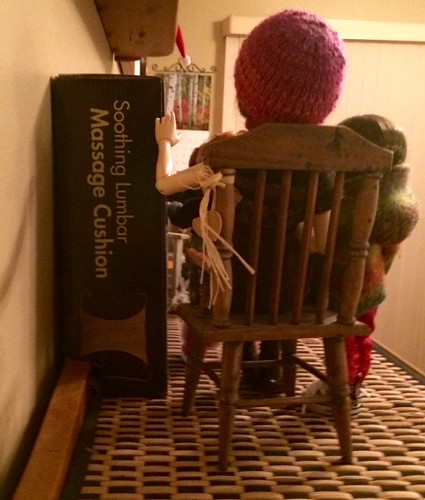
Step Two

Then following a "MyFroggyStuff" tutorial a hole was cut and folded to create the firebox.

The resin kids inspected it closely to be sure it was large enough for Santa.
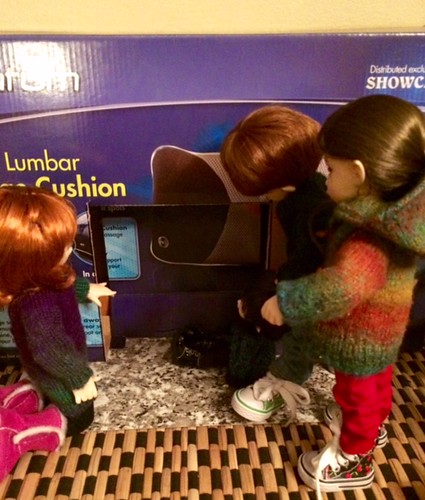
Step Three and Four

That's as far as I got yesterday because a bit of a shopping trip was required. "Paper Clay" was needed and it is far too expensive to buy, but I found a tutorial online for a home made variety. I had the dry wall filler and the white glue already but needed to go out to find mineral oil and black Duck Tape. While at Walmart I also found a large bag of small river stones.

Shopping trip.

The Duck Tape is used to stabilize the folded cardboard of the firebox and to give it a realistic black colour.

Duct tape firebox

It was then time to mix up the batch of home made paper clay. I didn't want to destroy my electric mixer, bowl, measuring cups, or utensils by allowing paper clay to dry on them as hard as a rock so I filled my kitchen sink with hot sudsy water before I started and dropped those items into the sink as I was finished with them.

I forgot to take pictures of all the making and spreading of the paper clay "mortar", but it was fun. The first step of the recipe was to throw a roll of toilet paper into a bowl of water. How could that not be FUN?!

So then I spread the paper clay over the face of the box, much like icing a cake. While it was wet I pressed small river rocks into the "mortar".
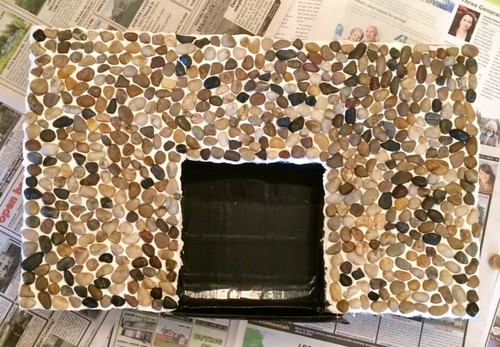
Front Face

 I've only done the front face at this point. The rocks are heavy and I don't want them sliding or dropping off before the paper clay has a chance to dry. I'll do the sides when the work so far has dried. I have NO idea how long that will take.

While that's drying perhaps I'll work on creating some small stockings. After all if they are going to hang stockings I guess they will need some?

Thursday, November 06, 2014

Quick Catch Up Post

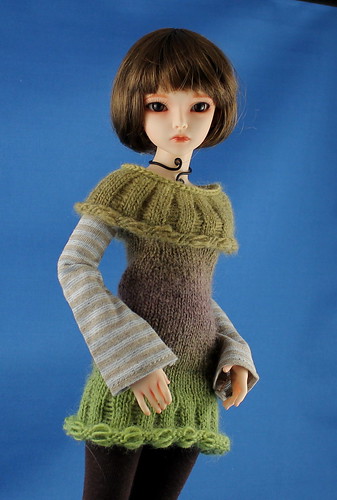
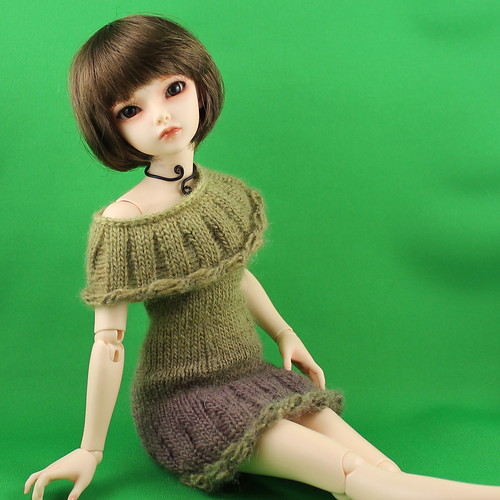
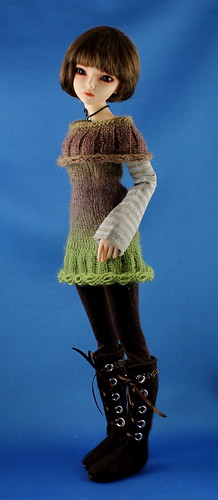
I've been busy knitting and reknitting various doll clothes items in an effort to get a pattern collection for slim-mini, ball jointed dolls ready for publication. It's still a ways off, probably some time in December, but I have made progress.

Since the posting of the pullover with collar a while back I have designed a Ribbed Watch Cap --

Ribbed beanie

-- then I reknit it perfecting the decreases at the crown,

Better?

I'll have at least one more hat pattern in the collection. Probably something more like a slouchy beret.

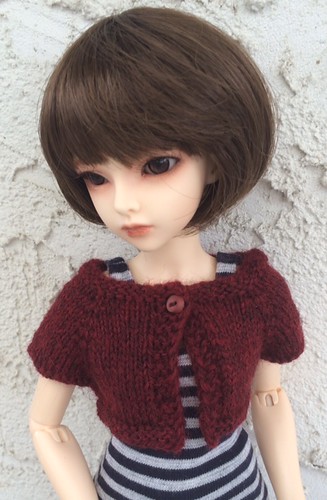
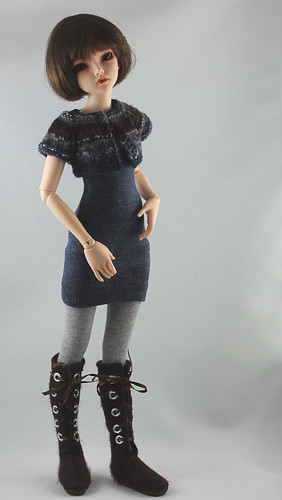
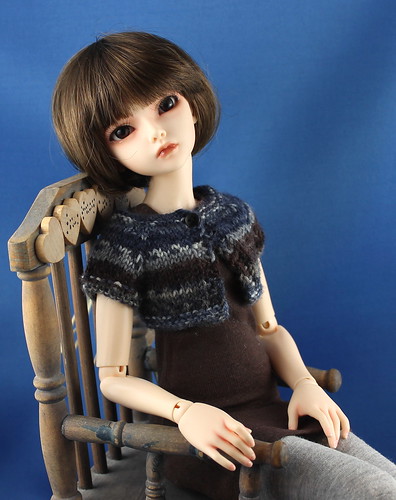
I have also designed and knit a cropped cardigan.

Version One

The neckline of the first version stood away from the body unattractively so I reknit it and at the same time added bands at the sleeve edges.

Version Two

In that one I liked the improved neckline and the way the bands pulled the design together as a cohesive whole, but I felt that the bands on the sleeves looked too bulky, so I tried again with one less round of garter stitch.

Rockin' the Sock Dress

It was getting better but I still didn't like the way the sleeves were jutting out. One more knit through with a decrease of three stitches just before the arm bands and --

pattern photo

--- yes, I think this one will do.

final version

And now I must set aside the knitting for awhile. Tomorrow I have surgery to relieve carpal tunnel syndrome on my right hand. I'll have at least three days of sitting around doing very little other than reading and watching TV with my arm propped up. After that I can gradually start adding in more activity, but it will likely be about a week before I can knit with any comfort.

Friday, October 31, 2014

Monday, October 27, 2014

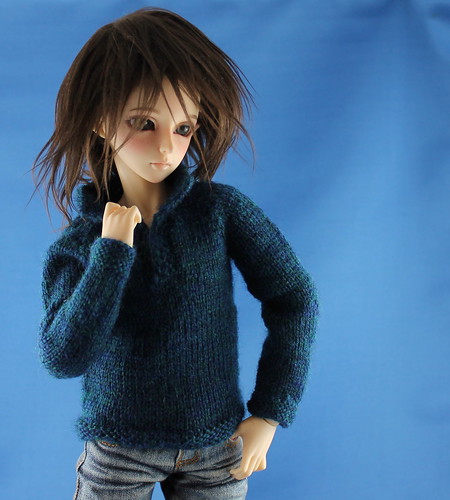
Collared Pullover

Here's another sweater that will eventually show up in a pattern collection for the Minifee line and other dolls of that general size.

Collared Pullover

I quite like it!

a7254

It has a more manly look to it than some designs.

For the guys (and their gals).

Though I'm pretty sure that in the right colours it would look great on the girls too.

Zen really likes this one.

I hope to have an entire collection ready for publishing in December. Even once the initial designing takes place it can take that long to get test knitters, make corrections, double check the corrections, and then edit it all into a cohesive publishable whole.

a7238

I'm trying to keep this as a collection of "basics", but if there is any particular style you'd like to see in the collection mention it in the comments.

Friday, October 24, 2014

Drop Stitch Dress with Collar

It's finally ready!

While I've been working on a larger collection of knitting patterns for Minifee (and other slim mini's like Narae, Ellowyne Wilde, and Delilah Noir) this single dress pattern stood out and demanded to be published first, separately.


a7198


This is a project that is near and dear to my heart, because it is inspired by a lovely little dress my mother made for my first Barbie doll about 50 years ago! I LOVED that dress!


a7232


I've taken the basic idea of that dress, with it's dropped stitch lacey pattern, and restyled it for a more modern tunic look and to fit the 16" ball jointed dolls.


a7213


As a BONUS I've also included the simple sewing pattern for the sleeves/arm warmers and tall stockings that work as a "completer set" that will take the sleeveless knitted dress and collar right through the fall and winter months.

a7205

For only $3.00 US, you can receive an instant PDF download of both the knitting pattern and the bonus sewing pattern. I bet you even have 25g of leftover fingering weight yarn in your stash!

    with Paypal! Or visit my Ravelry or Etsy stores.

Thursday, October 23, 2014

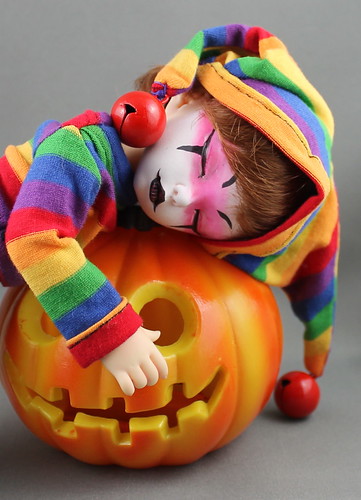
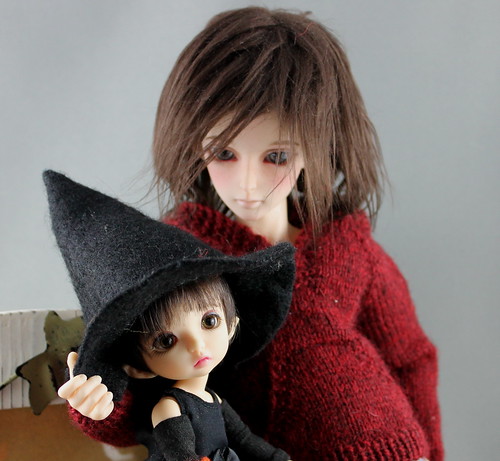
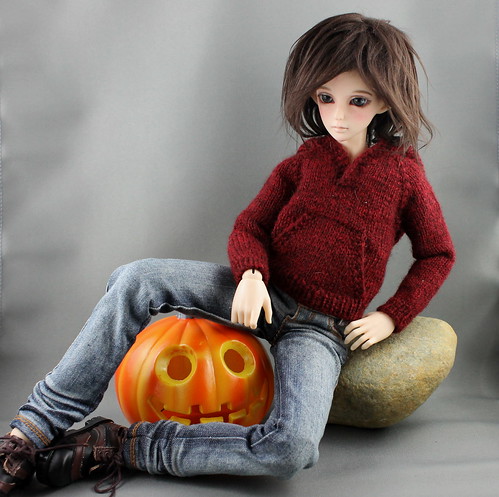
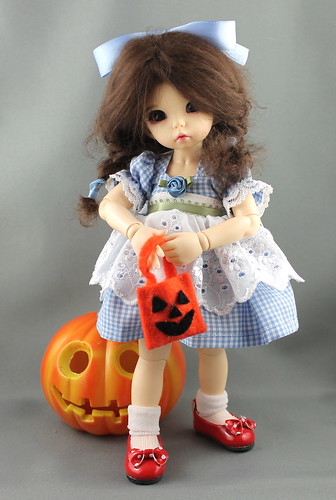
Hallowe'en Photos

Just photos today. Too busy with knitting pattern development to spend much time blogging.

a7147

a7101

a7089

a7086

a7053

Sunday, October 19, 2014

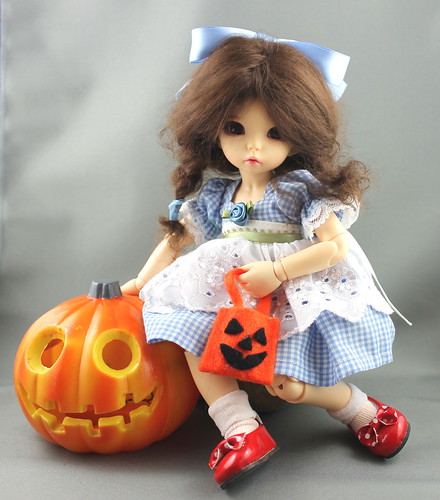
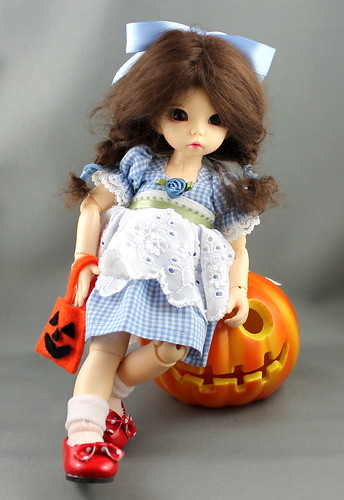
Hallowe'en Resin Style

A few more photos from yesterday's Hallowe'en photo shoot.

a7135


a7128


a7096


a7081


a7074

Saturday, October 18, 2014

Getting Ready

Gourd

Muckle John

Peanut

Neelie

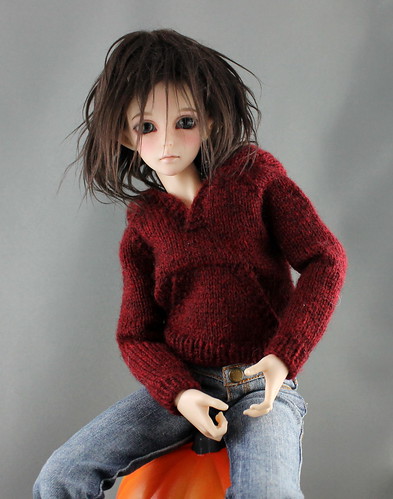
Zenawii won't be dressing up. He's just supervising the children.

Zen Tulusson

Friday, October 17, 2014

Tear This Page Out!

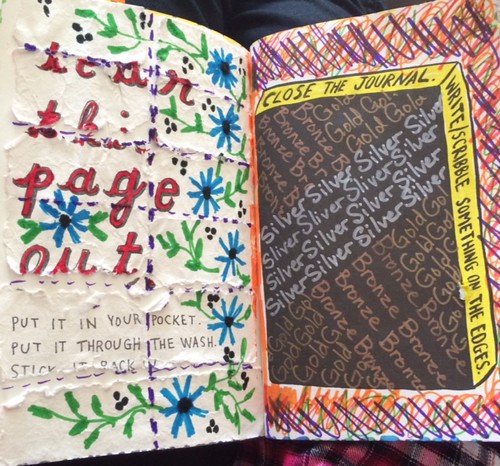
I had company for a few days and kind of lost my momentum on the journal project. Very little has been accomplished in it since my last post. I did "Tear This Page Out" though.

Tear this page out

As instructed it went through the wash in one of my pockets and then what remained of it was glued back into the journal. I couldn't leave it at that though. After gluing it in place I decorated it a bit with felt tip pens. The page next to it was also filled in a bit with random nonsense.

I had help with this next page. I was instructed to "Lose This Page" so I handed it to an anonymous helper who deposited it in an unknown garbage can somewhere and then took a photo as "evidence" that the dastardly deed was done.

Lose this page

Poor little page --- lost somewhere in a giant landfill.

Monday, October 06, 2014

Rub Dirt Here

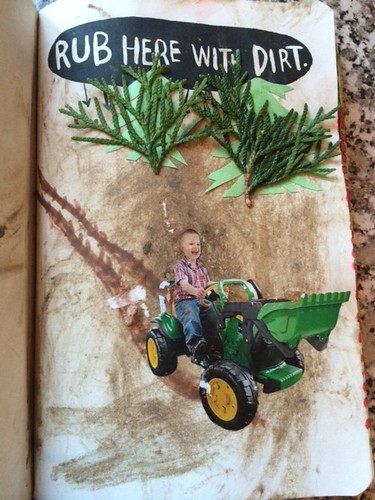
As I mentioned yesterday the granddaughters helped me by enthusiastically rubbing mud into my journal. Today I finished the page by embellishing a little further.

Rub Here With Dirt

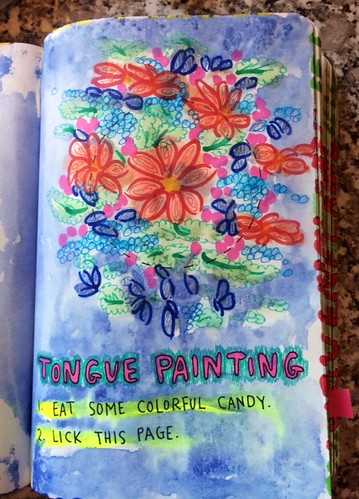
Boosted by the success of that page I went out to "Sticky's" candy shop and bought a few candies for the "Tongue Painting" page. The idea is to stain your mouth with high colour candies and then lick the page. I found that only the jaw breakers I purchased transferred colour enough to work well.

Tongue Painting

I added detail with felt tip markers and then painted the background with children's paints.

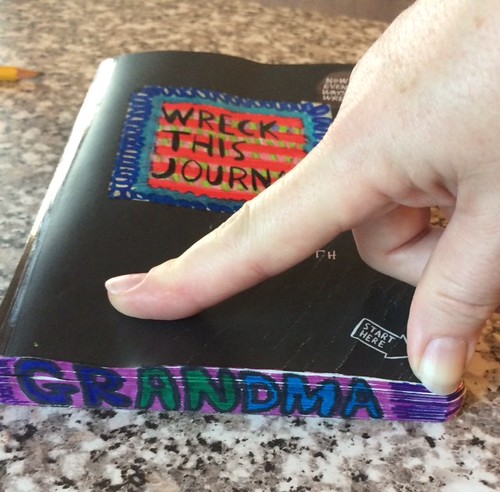
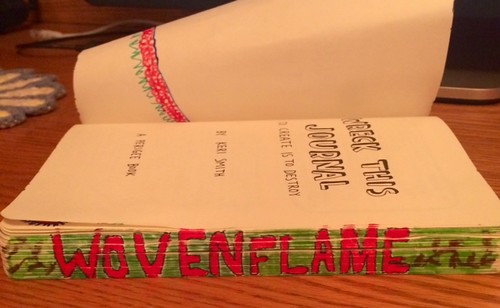
Once the markers were out I decided to tackle the remaining page edges. So now I have "Grandma",

Bottom edge

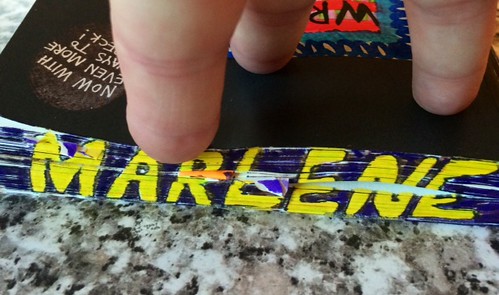
"Wovenflame", and "Marlene" coloured in felt tip markers on the three edges.

Top edge

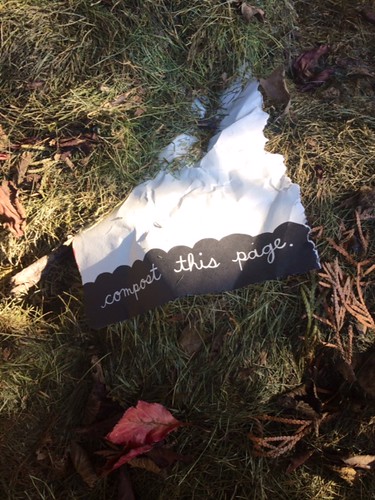
Let's see, what else is new? Oh yes, I tossed this sheet in the compost pile as instructed.

Compost this Page

The compost pile is pretty dry right now. I don't think I'll be documenting much deterioration until we've had some rain.

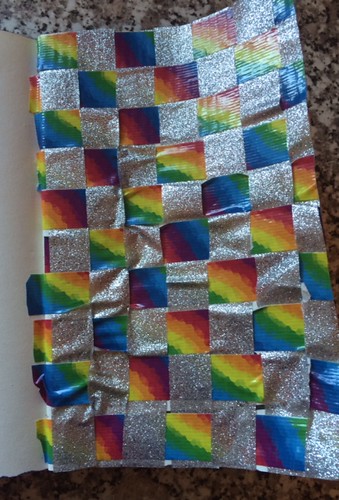
And the last bit of playing for today was weaving DuckTape strips on the "Cover This Page With Tape" page.

Cover this page with tape --

Doing all this bizarre stuff reminds me fondly of my paternal grandfather. He conjured up the darndest games for me and my brothers. How many other grandpas create challenges where their young grandchildren stick their arm in a toilet? Waddle around the room like a duck until their legs cramp up painfully? Think up, and write down, as many "potty mouthed" words as they could as part of a game, and then disqualify them when the words were spelled wrong? Yeah, I know. It was amazing that I survived childhood.

Sunday, October 05, 2014

Write Something on the Edges

Not finished this task yet. I have the top and the bottom to fill as well.

  Write Something on the Edges

My granddaughters helped me with another page,: "Rub Dirt Here", but I've yet to complete the page with added creativity so I'll photograph it later.

A number of the pages are like that, kind of an ongoing activity. I've also got a start on the "fruit stickers" page, where you place the stickers off of fresh fruit. That activity will probably take months.

Saturday, October 04, 2014

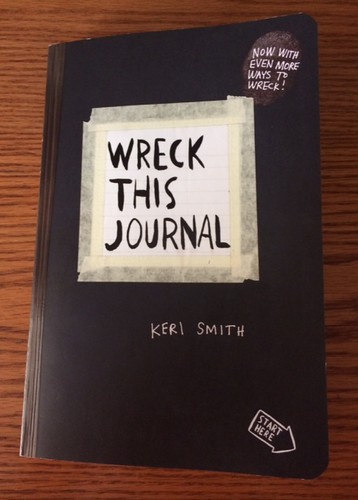
WRECK This Journal

Care to join me on a new adventure?

Care to join me?
I know I'm late to this particular party, as the whole "Wreck This Journal" fad was started a number of years ago and the groups where people were posting seem to have dribbled to a close. At the time I thought it looked like I would have fun doing it, but I couldn't find a copy of the journal, locally.

I see now that it is available on Amazon in Canada and the US.

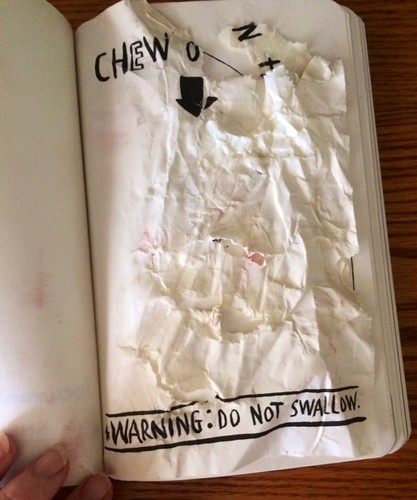
My first action was to "break the spine", but that doesn't photograph as much. I then looked through the book and noticed two actions I'd like to do now, before the journal is filthy with all manner of vile substances. The first is "Chew On This".

Chew On This

For the second activity that I'd prefer to do while the journal is still clean I'll need some mouth staining candy. Um -- yeah -- I may be 54, but I'm still a kid a heart.