Translate

Showing posts with label embroidery. Show all posts

Monday, September 06, 2021

Yubinuki and Temari

 This is not my work, these were gifts from a very talented friend and fellow guild member, but I wanted to show you. Aren't they beautiful?


The spheres are Japanese Temari balls. They are balls of thread wound and needle woven into intricate patterns. They were traditionally a gift given to children on New Years Day but have become a collectable art form.


The beautifully patterned rings displayed on the fingers of the hand mannequin are decorative Yubinuki, a traditional Japanese paper and silk thimble-ring worn on the middle finger and used during stitching or embroidery to push the needle.

Thursday, May 13, 2021

Denim Statement Piece

Here's another pendant made using the basic ideas gleaned during the "Make a Statement" multi-media course presented online by Gwenn Lafleur. This particular one is my version of the "medicine bag". It forms a pocket for whatever special trinkets a person might wish to carry. 


I made the base of mine from an Inkle band that had been woven on my Saori CH60 floor loom for another purpose, but it turned out too wide. I repurposed it, and through some folding, fashioned it into an open pocket on the back. To form a "bezel" for the top of the pendant I folded the fabric over a plastic straw creating a reinforced casing. A tubular Inkle band, created on my Windhaven Ukulele Inkle Loom, passes through the straw in the casing. 

Both Inkle bands made use of weaving cotton given to me by a friend when she was moving to a new community. I believe it was originally part of the stash of another mutual friend and former guild member. In fact, all components of the pendant have special meaning to me.


All three of the buttons used came from a huge button jar that originally belonged to my grandmother and was handed down to my mother, and now to me. The buttons themselves may or may not be old since each of us has added to the collection over the years.


The pale blue lace surrounding the stacked buttons is a scrap leftover from making tiny doll clothing, another hobby of mine.

The frayed denim at the bottom edge is the hem of a discarded pair of my husband's jeans.


The large silver beads along the top, just below the casing, are from a broken necklace. Those beads are nestled into a small piece of tatting that I did years ago while learning shuttle tatting.

The thin blue fabric with white polka dots in the upper right corner is an ancient old, completely worn to tatters, handkerchief that belonged to my husband and perhaps might have originally been my dad's?


The little silver dragonfly was a gift from a friend that knows I have a special affection for dragonflies.

The small dark blue beads scattered beside the dragonfly are leftovers from an intricate beaded shawl that took many months to knit.

Arching down the left side is a piece of an heirloom crocheted doily. It was stained and there were holes in it so it had just been tucked away, unused. I'm hoping this use is more honoring of the original craftswoman.

The embroidery embellishing the fabric that runs diagonally across the middle of the piece was done using floss inherited from my mother.

I'm very pleased with this pendant. I think I'll wear it a lot, denim being such a wardrobe staple. 

Monday, April 26, 2021

Making a Statement

 A couple of days ago I took the online "Make a Statement" class taught by Gwen Lafleur. It was a mixed media class and besides basic jewelry/beading methods it also went into layering and using special mediums like embossing ink. I haven't yet gotten to Michaels in the next community, so I worked with what I had on hand.


The central medallion is one that I embroidered last June. I also made the tubular Inkle band at that time and put it together in a simple pendant style. Unfortunately it had a tendency to spin when worn and often showed the backside rather than the front. The problem was the way I had attached it  top and bottom from only one central point.


Now that it has beaded additions and is attached to the Inkle band on both sides it will stay put. 

Gwen Lafleur seemed to refer to "statement" as something containing a personal affirmation note. I would be more inclined to define statement jewelry they way Brittany's Fine Jewelry does in this quote:

"Statement jewelry allows both men and women to express themselves and their personality through jewelry. Statement jewelry is unique and bold and helps the wearer portray who they are through their outward appearance." 

When I portray who I am through my outward appearance I like to be seen as creative, unique, and a truly "one of a kind" fibre artist. I think this piece of wearable art says that quite nicely.

Saturday, June 20, 2020

Joyful Stitching

Turns out painting is not where I will find my JOY, and that's okay as I have plenty of other hobbies that bring me joy and more than fill my available time.


One such hobby is hand embroidery, in particular freeform "Stitch Meditations" like the medallion above. Another hobby I love is weaving in its many forms. The cord for my pendant is a tubular Inkle band I made specifically to use this way. 


Another hobby that I really enjoy is sewing. Yes, this is yet another of the York Pinafores. I think I have six now. I am a woman who not too long ago said I would never wear a dress again. The pinafores are just that easy to make and comfortable to wear and honestly, I don't think of them as a dress, but more of a butt cover when wearing leggings. 

The painting? No, you won't be seeing any more of that. It's a wonderful course, especially for free, but I had a bit of an epiphany yesterday. I don't like painting! I don't like getting dirty. I don't like having to clean up the mess afterwards (and whoooo boy do I make a mess!). All in all, with only one life to live, I'd rather spend my time doing any one of my other numerous hobbies.

Tuesday, May 12, 2020

Sugarless But Sweet

These cookies won't cause me to gain any weight. 


The cupcakes are sweet but calorie free too.


A couple of handfuls of sugar free candy ---


And a few candy canes to add to the collection.


And then I was hit with the very vague direction to "fasten to the wreath as shown in the photo". No how to at all. I'll be back tomorrow with the finished wreath to show you how that came out. 


Thursday, January 23, 2020

Gingerbread Girl

Another wee addition to the felt applique wreath


She was created during another 3 morning coffee periods. Today I started on a heart shaped cookie with a ridiculous number of individually applied stripes, each with the addition of a sequin and a bead. I'll get a photo up of that when it is completed -- but don't hold your breath. It will be a while!

Tuesday, January 21, 2020

Christmas in January?

I'm working on a felt applique wreath, not late for this past Christmas but perhaps way early for the next one? 

(Yes, it's the third week in January and my poinsettia is still healthy!)

This kit by Bucilla, called "Cookies & Candy Wreath", will be a long term project done leisurely over many months. I'll take a photo now and then to show you how it's coming along.


I cut the basic wreath shape from foam core board rather than the cardboard suggested. Then I had to embroider many many leaves. The embroidery on the leaves was time consuming but easy, just simple back stitch and straight stitch. Attaching all those leaves to the wreath form was a challenge! I ended up having to go out and buy a curved upholstery needle.


The curved needle was awkward to work with but it made attaching the leaves to the stiff background easier.


Now that the background leaves are done I'm on to the more interesting part, making all the items to go on the wreath. 

To give you some idea of the scope of this project, the little gingerbread boy is only the beginning. I estimate he took around 3 hours to create.

Sunday, November 03, 2019

Pressing Station

While I wait for my sewing room to be completed I am keeping busy with little projects related to the rennos going on in there.


Before the room was even started my husband and I got to work on this sturdy new pressing station. My old ironing board was rickety and threatened to toss my irreplaceable iron to the floor. I am very protective of that iron since it very well might be the last of the ones available *without* an automatic shut off. I find turning around, mid project, to use an iron and finding it off and cold to be infuriating! 


My husband and I built a standard 4 x 2 cube KALLAX unit from IKEA then he added sturdy pine boards, cut to size, to the top and the bottom. Another board, with slightly wider and longer dimensions and a bit of an added rim, allows the entire padded surface to be lifted off if a cover change becomes necessary and yet it is very sturdy and doesn't move around.

The top is 3 layers of cotton quilt batting, a layer of heat resistant ironing board cloth, and then the outer fabric which is a heavy cotton decorator fabric. For now, with my sewing room down for renovations, the pressing station is set up in our home office area and has been seeing a fair bit of use. It's a delight to use!


We finished off the pressing station with 2 drawer units (total of 4 drawers) and 2 doored units. Those additions did come with drawer pulls but they just didn't have the personality and crafty look I wanted for a creative space so I got to work and transformed 1 1/4" wooden knobs from Home Depot with paint, a simple decorative flower motif, and several coats of Varathane. I'm very pleased with the way they turned out.


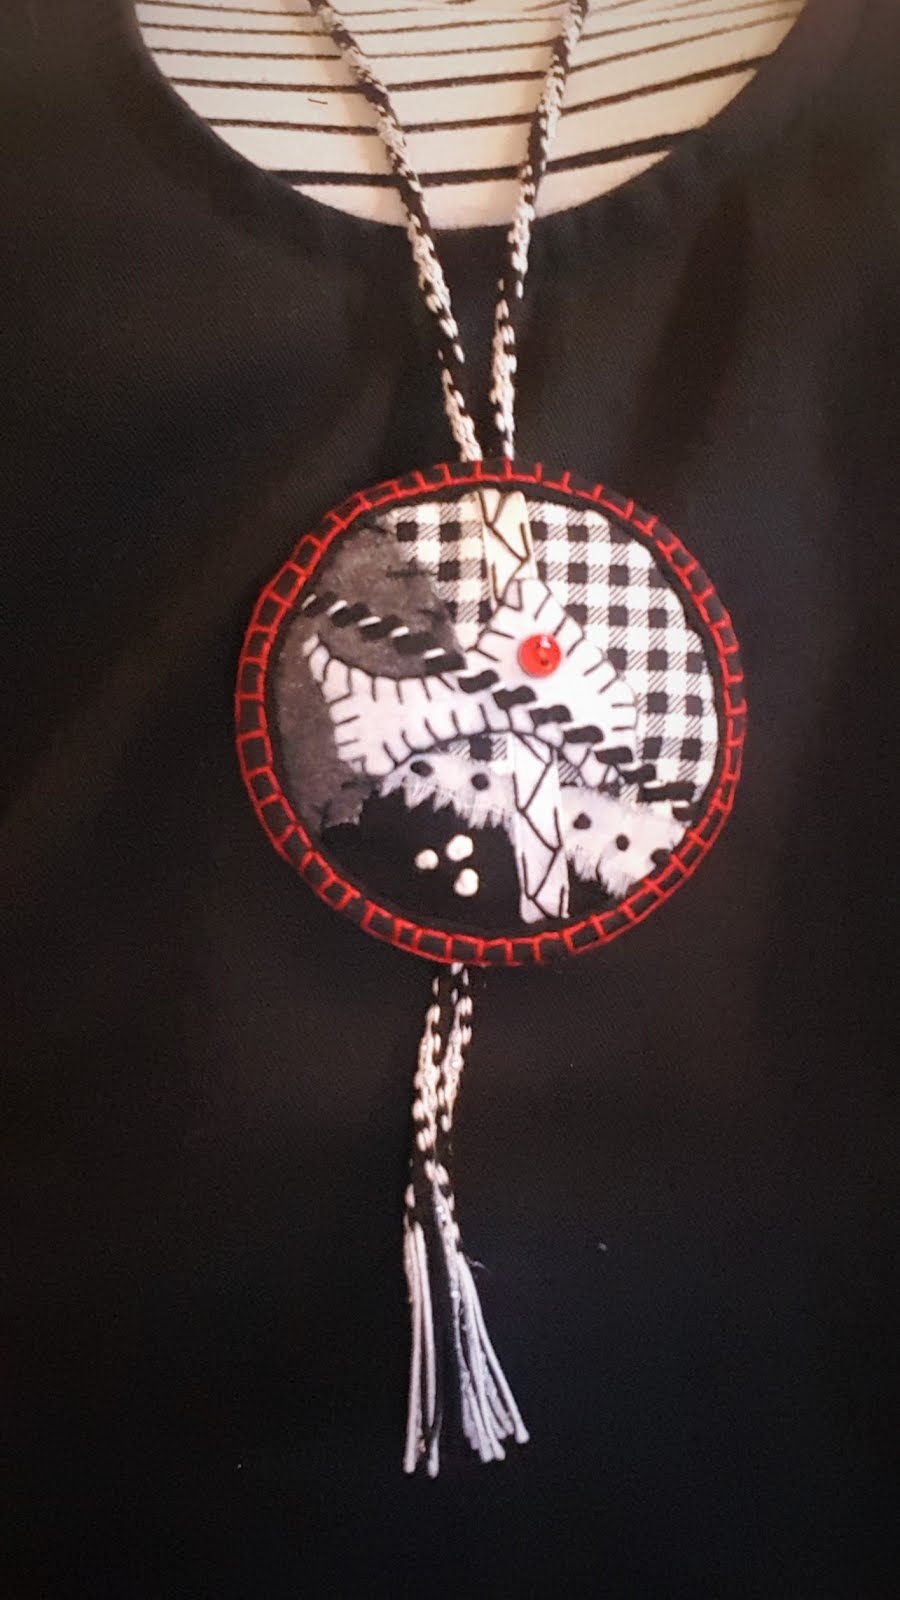
The lower row of cube cubbies is filled with BRANAS baskets and I've been busy making liners for them of boro patchwork and accents of simple, bold stitching.


Speaking of patching -- here's how the progress in the room is going. The closet is out, the drywall is up, and the seams are being mudded and sanded. Next step will be priming the whole room and then spraying texture on the ceiling. Or maybe it's the other way around? Anyway, I'm not the one in charge of that so all I can do is pace, peek in now and then, and continue on with my little detail work.


All links in my blog posts are there only for your convenience. I get no reimbursement if you use them.

Friday, August 09, 2019

Nine Ribbons

I entered 8 exhibits in the 2019 Chilliwack Exhibition and managed to win 9 ribbons! 7 firsts, a second, and a Best in Show.


Firsts for a "counted cross-stitch on aida",


an "adult hat and scarf", (my Year in Temperatures Scarf with a hat to match)


a "recycled article with a major style change", (a tunic made from duvet cover)


"Spinning - any natural fibre, plied" (a 2 ply cotton)


"Collection of 3 or more decorative items", (16 of my Stitch Meditations")


"Yardage of woven material", (my travelling inlay Saori yardage)


"Wearable article woven with recycled material" (my coat from denim strips).
The coat also won a "Best in Show" rosette.


And in the "Scarf or cowl" category I received a second place. 

Tuesday, June 25, 2019

Bloggable Gift

I finished this little set up just before I left for ANWG but I was reluctant to blog about it until the gift was opened by the recipient. It is a "set" of sorts for a grand-nephew. He was born months ago so it won't be long until he is able to wear it. I hope the fit will be okay come fall when the weather is cooler!


The sweater is the "Gingersnap Cardigan", knit using a free pattern by Kristen Rettig. Fun, easy knit!


The hat was from an unrelated pattern, the "Sweet and Simple Baby Hat", a free pattern by Debbie Bodner. To help it better coordinate with the cardigan I added matching stripes and concealed the joins using the technique described in the free "Jogless-Join Stripes Baby Hat" pattern by Larissa Gregorin.


The hat might end up being too small by the time the cardigan fits. It was a bit of a guessing game. I chose a cardigan pattern and a hat pattern that were both for "12 months", but of course head to body proportions may vary! 


The little pants were super fun to create. Using "Jalie 3243" as a starting point I cut the pieces from the "good" sections of my husband's old, cast off, brown denim work shirt. 


I then added layers of patches and a variety of Sashiko stitching and distressed them a little by scrubbing with sandpaper. 


I'm really happy with the way they turned out!

Thursday, May 30, 2019

Hardly Rubbish

I'm thrilled with the way this project has turned out. It is not perfect, there are flaws, but I still think it is beautiful. It is also an extremely comfortable and comforting jacket to wear. I love it!


I'm entering the jacket at the 2019 ANWG Conference being held in Prince George, BC, where the theme is "Confluence" and the organizers are encouraging entrants to combine other talents and interests with their weaving. I've chosen to combine my interest in recycling, weaving, sewing, embroidery, and Sashiko (a Japanese form of running stitch embroidery). 


Entrants are required to title their exhibits. I've chosen "What Rubbish" for mine in reference to the recycled denim (strips used in the weaving), recycled bedsheet (used for lining), leftover weaving cotton (used for the Sashiko), and inherited embroidery floss (used for the marigold flowers). All of these materials would usually be thrown away adding to our planet's growing pollution problem. I say, "What rubbish!". 

Sunday, May 19, 2019

Change Of Plans

I'm now working on the lining for the special project I mentioned at the end of April, the one made of yardage woven from denim strips.


The way the jacket is made the front panels fold back to form a lapel effect and this exposes the lining. I decided to embellish the exposed area of the lining with Sashiko embroidery in the Higaki (Cypress Fence) pattern. Wanting to break up the monotony of the brick like pattern I added a few small flowers I drew myself.  

When the Sashiko was complete I could see that the flower outlines would definitely need some further defining. They were lost in the background of Higaki patterning. (See top portion of the photo). Before work began I suspected this might be the case and had a backup plan to use fabric paint to fill in the flowers. A practice piece made me realize that fabric paints were just not going to work. 

After a couple more false starts, experimenting and casting aside various ideas, I came up with the idea of filling the flowers in with a solid blending stitch known as "long and short stitch". I chose a range of golden yellows so as to not clash with the background Sashiko. As I was working the blending stitch my husband mentioned that they looked like marigolds. I agreed. With the addition of a centre of deeper gold french knots I think they look just like this particular marigold variety.


Wednesday, March 13, 2019

7 More Minis

While I've been working on a few other creative projects around here my 4 inch minis slipped to the wayside for a bit, but I'd like to get back to them as soon as possible.


It's only been a few days but already I really miss that quiet, creative time after dinner, just me and my stitching.


In the meantime here are 7 more that have been completed since I last posted about Stitching Meditations.


These are all done with no preplanning. I just dig through my scraps and see what happens.


The mini shown below is actually the worn out elbow section of one of my husbands denim shirts. It is overlapping a section of a worn out, ancient old handkerchief. Peeking through that you can just see the plaid flannel from a shirt that is used as a backing to all of my recent squares.


The bright orange mini below is the corner from a sarong I cut up for a scarf I showed recently. It is sewn to a thrifted linen blend fabric that was used as an inexpensive "muslin" for a trial pattern that failed so never quite made it as a bloggable sewing project. 


This last mini is a strip of that same bright orange-red linen blend fabric laid in a wandering path over a square of the duvet fabric I used in my heavily embroidered Les Etoiles tunic.


There will be more. Probably many more. Perhaps one day they will find themselves attached in groups to a backing and displayed somewhere where the details can be seen.