Translate

Tuesday, August 30, 2016

The Light at the End of the Warp

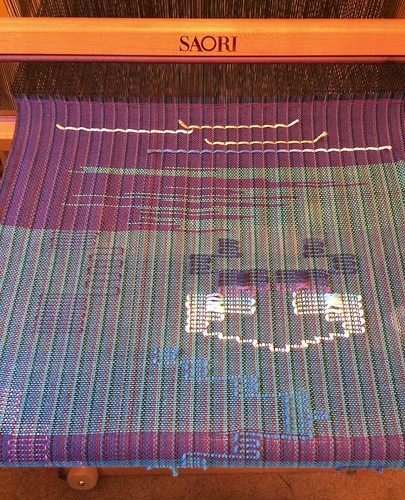
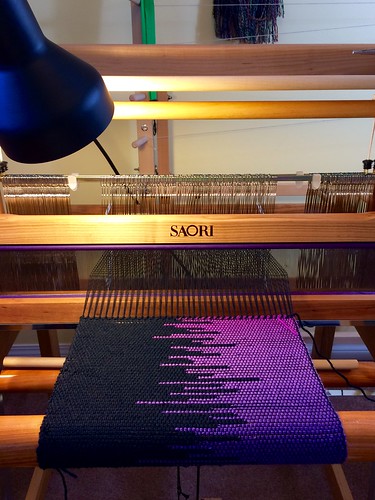
I bought a little clip on lamp for my loom and it makes a big difference. There seemed to be plenty of light in the room but it was always coming from the wrong angles and casting shadows upon my work. This is much better.


The light at the end of the warp.

  And yes, I've come to the end of the 6m inaugural warp.

Saturday, August 27, 2016

CH60 Inaugural Warp

Warp's on the new Saori CH60 and I'm back weaving again.

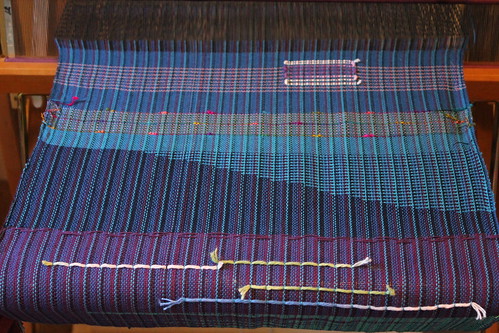
Inaugural warp.

New Saori looms come with a pre-threaded, sleyed, and beamed warp so once the loom itself is assembled it only takes a few minutes to tie on and your're off and weaving. It was a welcome reward for the time spent actually building the loom!

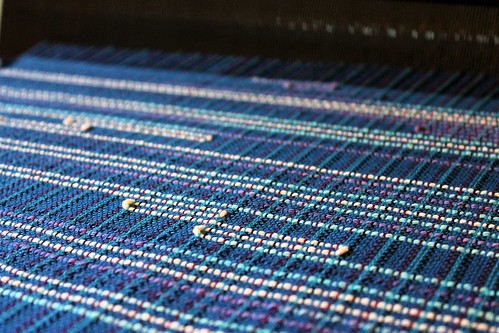
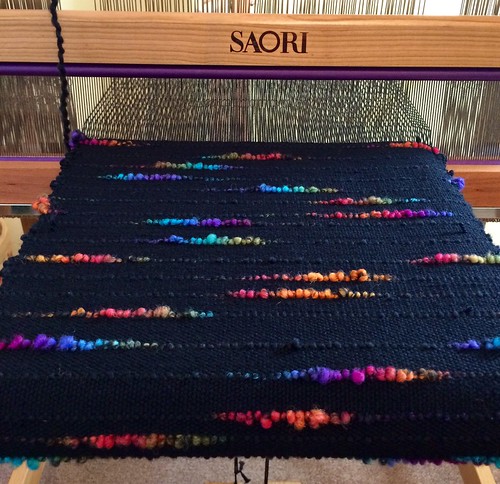
The colourful blips in the first section of weaving have generated quite a bit of interest in the Saori forums I've posted the picture in, so I'll explain in more detail for those who do not frequent those forums.

The warp is the all black cotton pre-wound that came with the loom It's 150 threads wide and 6m long. It's threaded one end per dent in a 5dp-cm reed. It's a bit widely spaced for my tastes but I wasn't about to mess with re-sleying the whole thing over that.

Weft choices for inaugural warp.

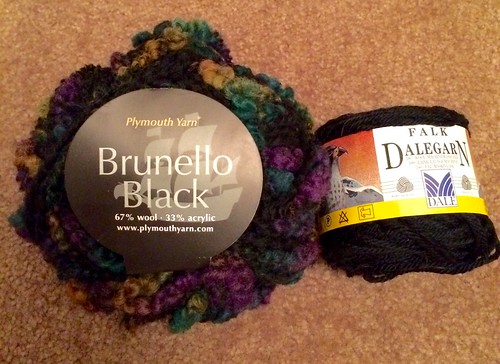
The 'background' weft is "Dalegarn - Falk" (100% wool sportsweight) that I had on hand from a failed knitting project. The pretty pops of colour and texture that so many are raving over is from a ball of "Brunello Black" (67% wool, 33% acrylic) which is a discontinued super bulky weight yarn. The ball in the photo is obviously not the colour used in the weaving. I used that colour up.

My plan is to use this yardage to make hats. The main part will be woven but each hat will have a hand knitted ribbing. We'll see how that plan goes once the yardage is wet finished. I think this first section may be a bit stiff for the intended purpose. I've got another section done now and I'm being super careful to gently 'place' the weft so that there will be room for a slight fulling of the finished fabric.

Friday, August 26, 2016

Oh Happy Day!

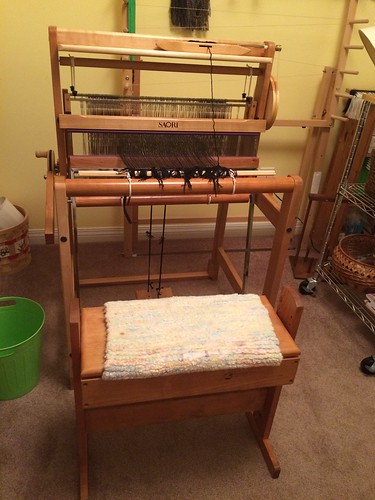
It wasn't until 9pm, but we did get the loom assembled and I even managed to weave an inch or so before bed.

Assembled and weaving.


I love, love, LOVE this loom! She's so sturdy and beautiful and the mechanics of it are so nicely thought out. It was hard going to bed last night knowing I wouldn't have a chance to weave again until around noon today. I woke up at 4am just itching to get back at it but had to restrain myself so as not to disturb my sleeping husband.

Yesterday was a fabulous day for me. I mean absolutely FABulous. First off I got this lovely little loom and I'm so, so happy with it, but that wasn't all. A large part of my day was spent at an eye surgery centre having tests done. How is that fabulous? After all the testing was done I learned that I qualify for Lasik eye surgery! Squeeee!

The actual surgery will be scheduled for near the end of September. For the first time since I was about 7 years old I won't have to wear glasses or contact lenses for distance vision. I'll still have to wear reading glasses for close up work, but that's better than having to wear glasses ALL the time. For me it's not at all about vanity. It's all those little, annoying things about wearing glasses. For instance, I'll be able to walk the dog in the rain without wishing my glasses came with windshield wipers.

Yesterday was such a great day that I was practically bouncing in my seat with excitement. A new loom AND some great news.

Thursday, August 25, 2016

Some Assembly Required

This could be -- interesting.

                        Perhaps even --- Challenging!


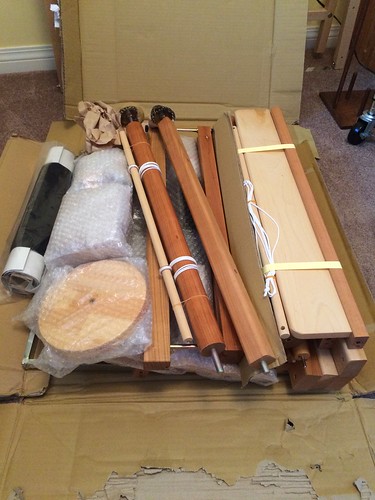
My new loom arrived yesterday afternoon. I was warned. Yes I was. I knew it was coming in pieces and would need assembly. Perhaps I was unprepared for the magnitude of this job?

Loom-to-be

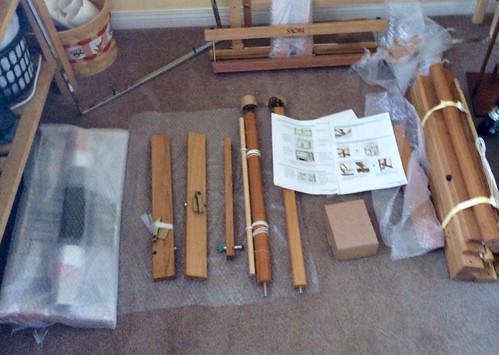
This is how far I've gotten so far.

Loom-to-be

Yes, so far I've only unwrapped most of it and identified (most) of the pieces. To be fair I spent all day yesterday, and well into the evening, decluttering, organizing and cleaning my weaving room. I only got around to opening the box this morning. I have a lengthy eye exam scheduled for today so I'm not likely to get the whole loom assembled, let alone operating, until tomorrow, but I'll pick away at it whenever I have a moment.


Wednesday, August 24, 2016

Sharing a Technique

The Saori Mug Rugs (coasters) turned out so nicely that I thought I'd share my technique with my readers.

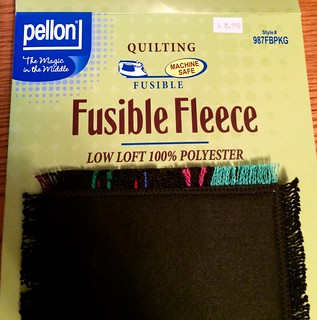
I started with some handwoven fabric and this fusible fleece commonly used to create body and strength in quilted or sewn handbags and totes.

Fusible Fleece

  1. Cut fusible fleece to desired size minus the fringe, then fuse it to the back of the weaving.
  2. Machine zigzag around the edge of the fleece.
  3. Cut around the mug rug 1/4" beyond the outside edge of the zigzag stitching. 
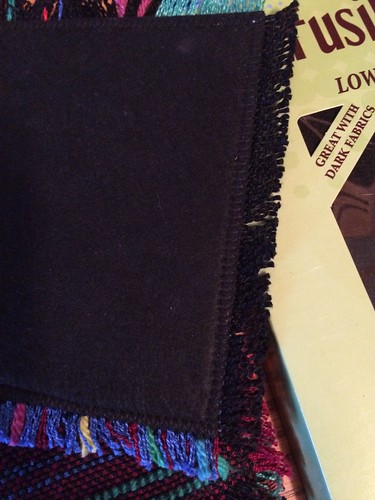
  4. Unravel the weaving back to the zigzag stitching on all 4 sides creating a fringe. 


Here's a close up of the back with it's zigzag stitching.

Mug Rug back edge


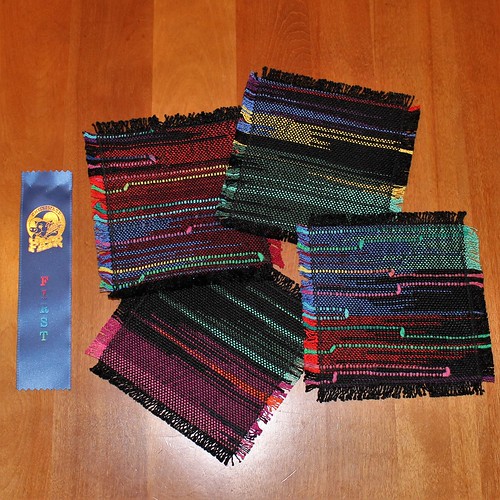
And the finished "mug rugs". 

Hand woven "mug rugs"


Tuesday, August 23, 2016

Late Exhibition Report

Just realized that I never did report back to my readers about my Chilliwack Exhibition entries for this year. Enough time has passed that I can barely remember what I entered let alone how each entry did! (Why yes, I DO have a very short memory!) I do recall that I entered 6 items and all 6 got some sort of ribbon. No rosettes this year, but lets see if I can search Flickr files to see what was entered and which ribbons were won for each category.

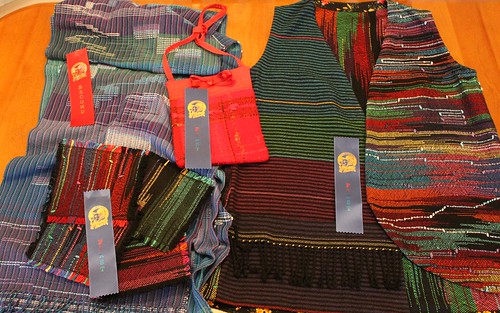
Oh. This photo is somewhat helpful. It at least shows the ribbons won in the weaving department.

4 entries and 4 ribbons

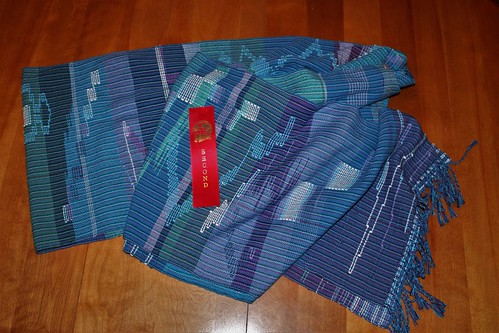
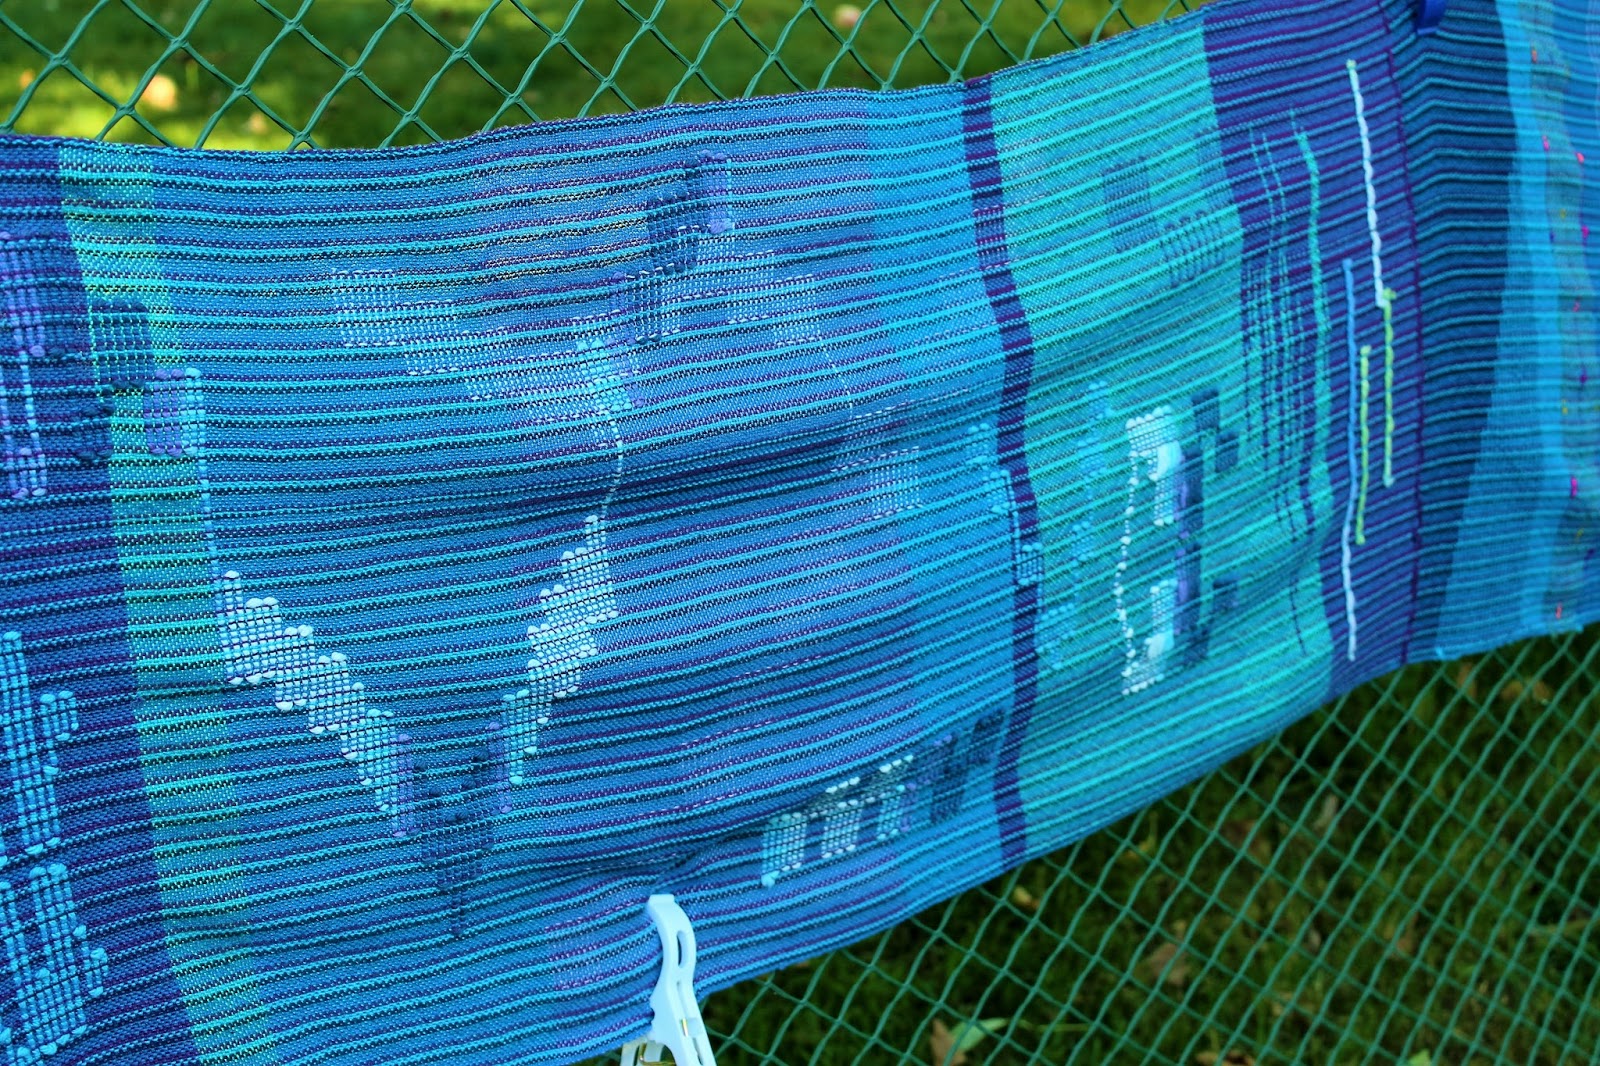
A second for my Saori "8/2 Blues" yardage.

Hand woven yardage

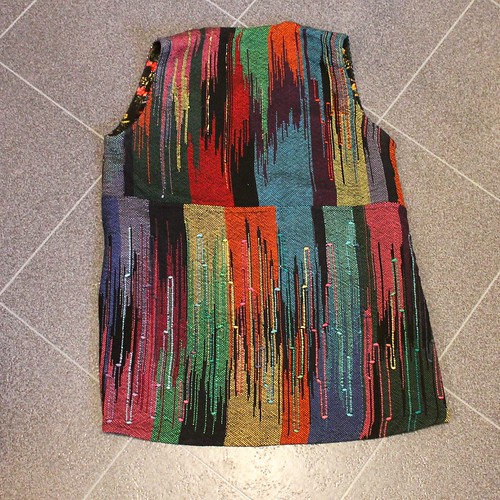
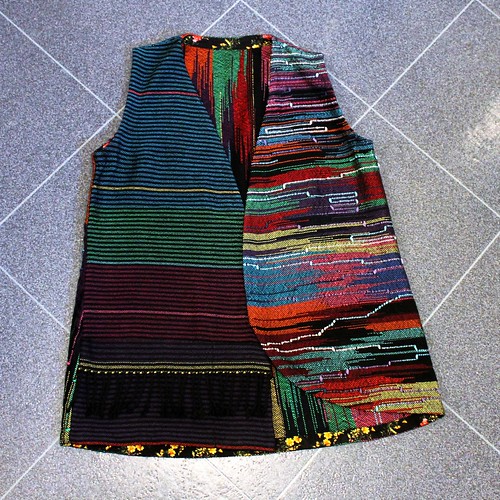
A first place ribbon for my Saori vest,

Hand woven garment
Hand woven garment

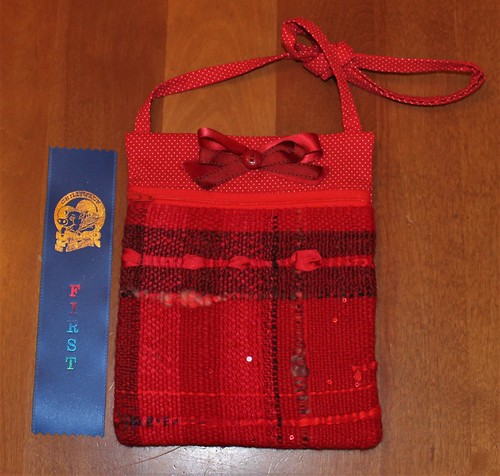
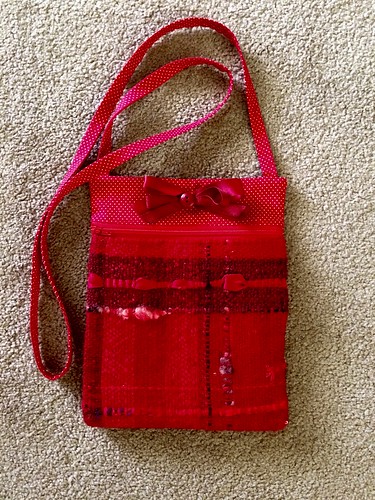
Another first for the little red cross-body bag with its handwoven Saori fabric.

Hand woven bag

The Saori woven coasters also won a first. I'll be posting a bit of a tutorial tomorrow about how those were finished. Come back around if you are interested and haven't already found my explanation on Ravelry.

Hand woven "mug rugs"

The other two ribbons were won in a different department. For sewing I received a third place ribbon on the orange Runaround Bag.

Runaround Bag

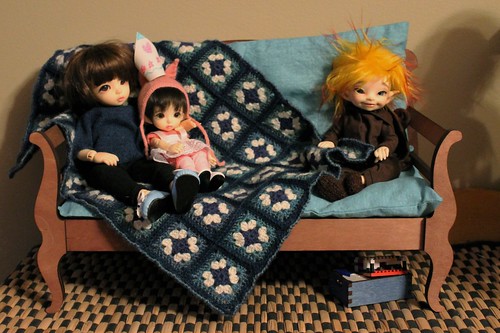
And finally, in crocheting, a first for the miniature 1/4 scale afghan I made for the doll couch. 

Minifee Couch

So there you go, the 6 ribbons won at this year's Chilliwack Exhibition, though I neglected to get photos of the ribbons with those last two projects.

Monday, August 22, 2016

Temporarily Loomless


I’m currently loomless. I sold my SAORI WX60 and with the funds I’ve purchased a SAORI CH60 to replace it. There are some much desired ergonomic features to the new loom that will become even more important to me as I age. Hopefully I’ll have the new loom by next week and then be able to find the time to build a loom and get it dressed with this very mixed warp before the end of August.

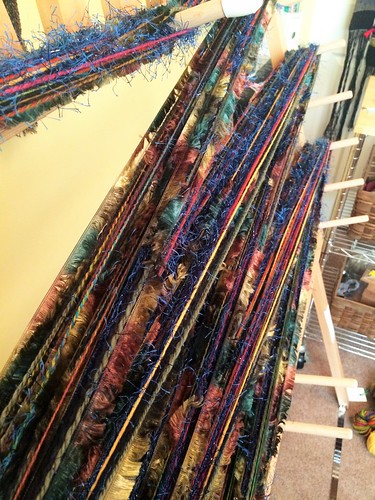
Mixed warp inspired by a skein of handspun


I pulled a thick and thin handspun skein from my stash as the colour inspiration for this one. I didn’t actually use the handspun in the warp, that will be saved for inclusion as weft as it is too loosely spun, and too thick in places, to stand up to the tension and abrasion of use as warp. I felt the skein had a nice mix of colours though so I pulled 10 threads from my stash and wound them as one with the intent to sley them randomly in the reed.

Mixed warp inspired by a skein of handspun


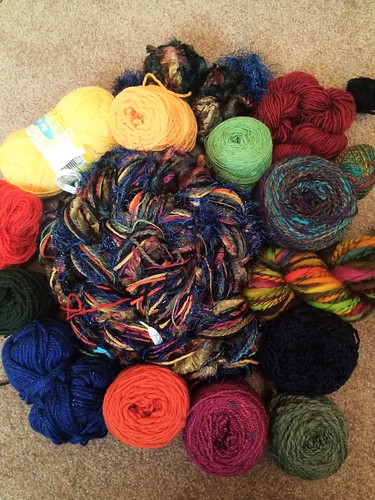
The skein I used as inspiration is the one at about ‘3-o-clock’ in this picture. As I chained the warp off the warping board I could see that I had my mix emphasizing blue a little heavily and neglecting brown, but m’eh, I can adjust that with weft choices if I feel like it come weaving time. Some of the yarns seen in the picture will only be included as weft. I’ve bagged them all together with the chained warp and now they await the arrival of the new loom. I may decide to wind as many as 5 more varied  warp chains while I’m loomless and therefor have a bit more room to move around in my tiny bedroom of a ‘studio’.

Saturday, August 20, 2016

Appreciating Shade

So grateful for the shade!


My daily dog walks are usually one and a half to two hours long, but with the extreme heat we've been experiencing I've had to shorten them up some, for my sake and for the dog's.


Kona insists that the walks still happen, but she's no dummy. When given a choice she always picks a route that takes her through the shady spots and down to the slough for a drink. 


Luckily, early in the morning one of our favourite routes has plenty of shade -- at least until we have to head home along the hot city streets.


Even then Kona will want to cross the road if it means she will be able to walk within the shadows.

Wednesday, August 17, 2016

Trixie's Introduction

I've been selling off some of my dolls, my interest in them waning and my available time being dedicated to other hobbies. I'm working my way down to just two dolls, but a fun little newcomer arrived today.

This is Trixie. She is a bit of an impulse buy, and technically she was only a "faceplate", not a full doll.


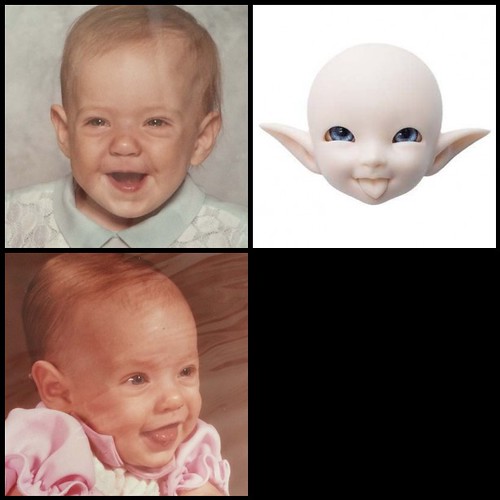
When the new Fairyland Realfee face sculpt, "Sira",  was introduced a few months ago I instantly fell in love. The face reminded me so much of my eldest daughter, Lisa, when she was just an infant. For several months after she was born Lisa always had the tip of her tongue hanging out, even for portraits!

Playing with a character idea.


Trouble was the Sira faceplate is not all that easy to come by, especially if you are downsizing your collection and not wanting to buy additional dolls. Sira is a limited edition "event faceplate", a gift with purchase incentive. You can only get one by placing an order of a qualifying dollar amount, or by buying from the second hand Marketplace.


So when my friend and doll artist, "Ban Sidhe", mentioned that she had ordered during the promotional period I asked her if she had qualified for the limit edition special gift faceplate, the Sira.


She had indeed, but had no specific plans for the qualifying gift faceplate and agreed to not only sell it to me, but to modify the tongue to a shorter, rounded shape and to give the modified faceplate a faceup before mailing it to me. 


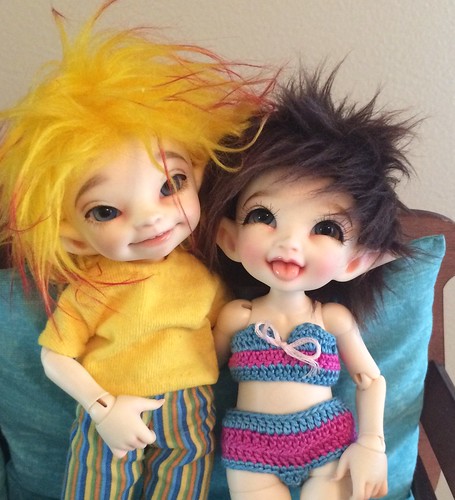
When Trixie arrived she immediately took over Tingle's body and pronounced it a perfect fit. Poor Tingle might be moving along to a new home shortly as I truly do intend to limit myself to only two dolls. I like that Trixie's large, upturned elfish ears and happy, mischievous expression are a better match for the happy, playful Flame.
Flame and Trixie.

Tuesday, August 02, 2016

Little Red Bag

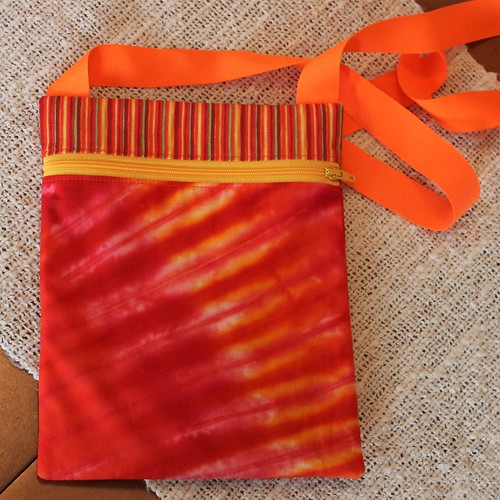
Whipped up this little bag to enter in the "handwoven bag" category at the Chilliwack Exhibtion.
Zippered bag of Saori handwoven fabric.


It's lined with quilting cotton and the same cotton is used for the section at the top, above the zipper, and also for the strap. The back has a handy pocket sewn from the same handwoven yardage and lined with cotton.

The purse I entered in the same category last year was much more elaborate, but I wanted to enter the category to help plump up the hand weaving displays even if it is only with this simple offering.


Saturday, July 30, 2016

The Whole 5 Yards

The "8/2 Blues" warp, after wet finishing, is 41cm by 4.51 metres or 16 inches by 5 yards. 


Although at this point no plan is carved in stone, I am considering the possibility of making most of this into a window valance for my guest room. 


Both ends are fringed. I do this so that the ends are secure during the finishing process and so that I have the maximum versatility in how I use the finished fabric.


If I do decide to go ahead with the valance idea I will use both fringed ends to make a matching cushion cover for the bed in the room.


And then I would add a header (hidden behind the handwoven cloth) of commercial fabric to serve as a pocket for a curtain rod.


The loom is not yet redressed. I'm taking a breather while I get other items ready for entry in our fall fair.


Tuesday, July 26, 2016

Fiber Arts with Kids

A while back (shamefully long ago) I received, for review, a book by Laurie Carlson. It's full of great little fibre arts projects to create and explore with kids age 9 and up.


My initial response was very favourable. There are fun sections on spinning, dyeing, weaving, knitting, crochet, and braiding. It wasn't long and I had chosen a project to do with my 9 year old granddaughter.

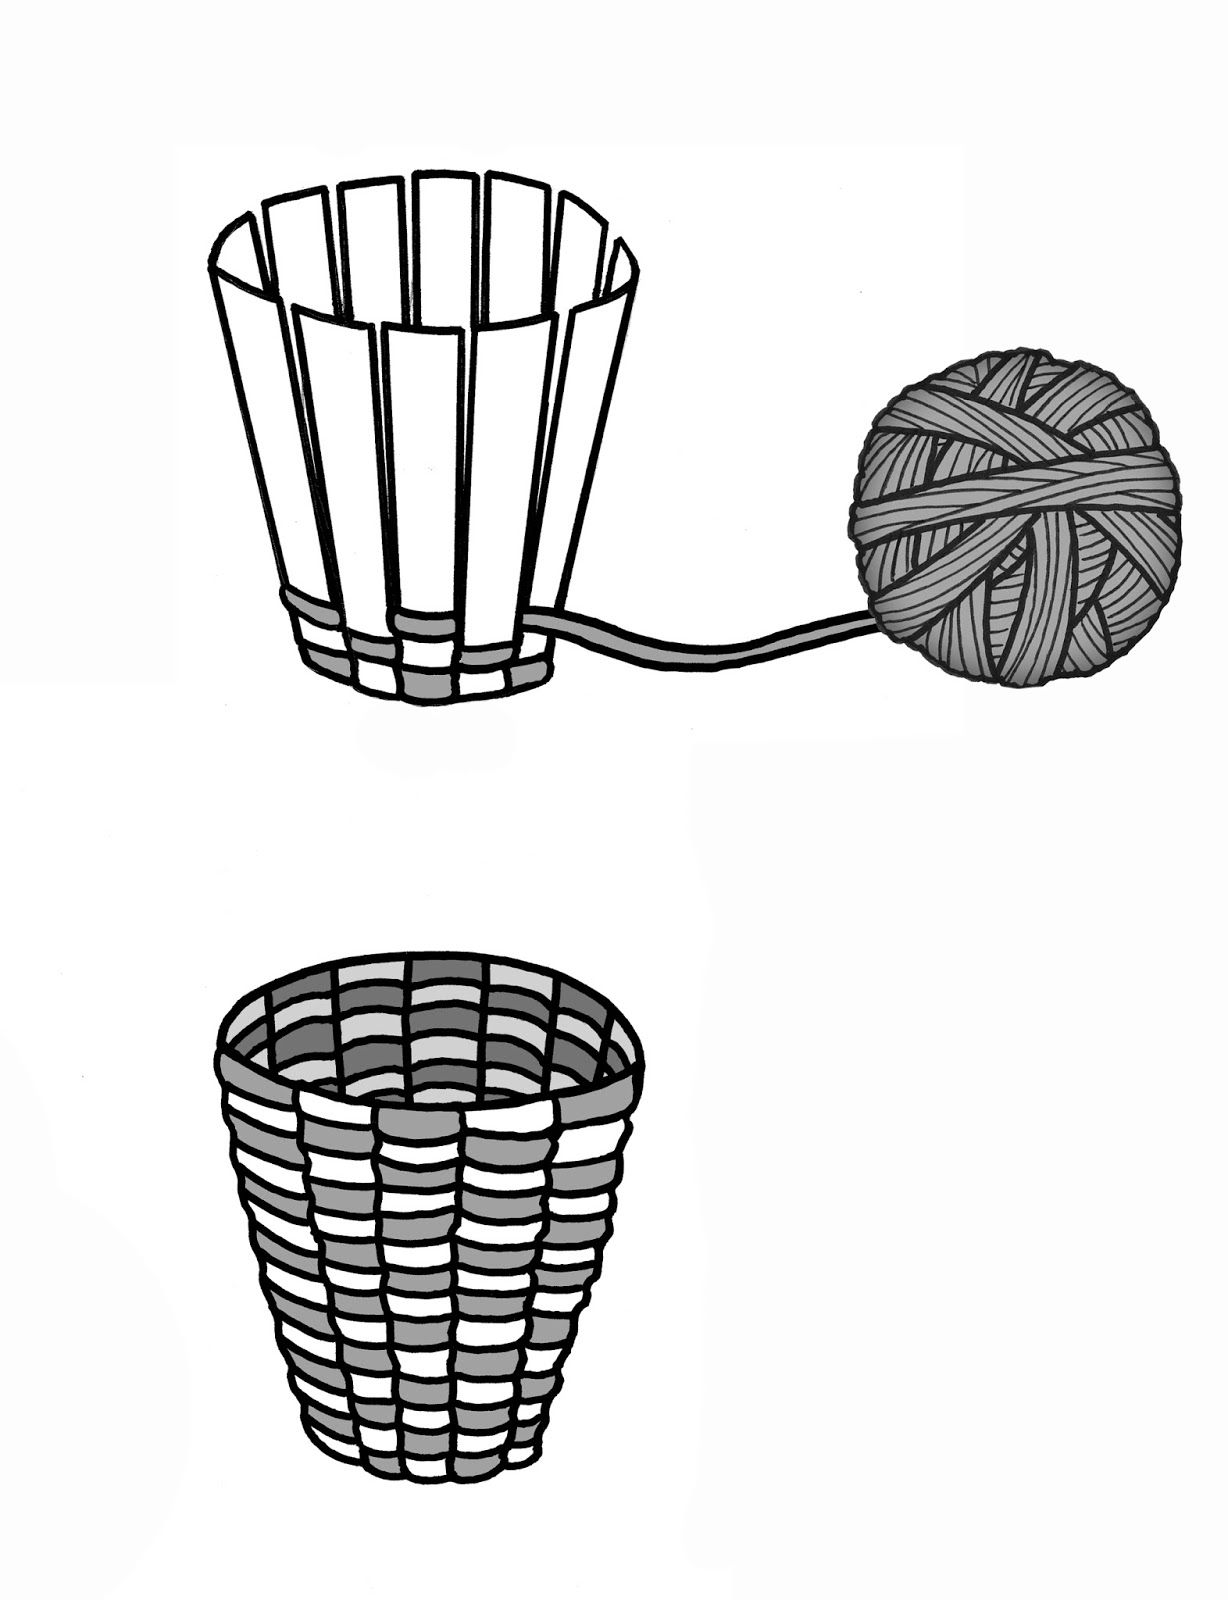
She had great fun creating what was meant to be a woven cup basket. I don't think she ever fully finished it though. The instructions for finishing it off were a little vague. And with this we come to one of the difficulties with this publication.


There has been an attempt in this book to cover numerous different crafts. Even though it is a substantial book of 148 pages that is not nearly enough to adequately teach that many crafts! For instance there are only 6 pages dedicated to learning the rather intricate craft of knitting. Of those six pages one is a description of how to make your own knitting needles. More space is taken up by a paragraph or two of knitting history. I'm a very experienced knitter and I can tell you that I never could have learned to knit with the vague, brief instructions written here. I don't think any adult could, let alone a child. The same brief coverage is seen for all of the other projects, and yet ---- 6 pages of text were used to describe various fibres.


The other problem I see is the lack of child appeal in the way the projects are presented. The only colour is seen on the cover. All of the projects within the pages are represented by simple, black and white line drawings, as seen above. There is no wow factor to draw a child in! Let's face it, books and crafts have some pretty tough competition these days! Kids have the world of the internet, television, and video games at their fingertips. A wall of text and simple, colourless line drawings just cannot compete. Even the 2 pages dedicated to the colour wheel are done in very boring to the eye black and white line drawings. 

Does this mean I think the book is a total loss? No. There are plenty of simple projects to keep a child busy during those long summer months --- if you can pull them away from the technological distractions long enough to engage them in using their hands to create something. Don't expect to hand an enthusiastic child the book and have them learn a craft on their own though. There will definitely have to be lots of additional instruction given by an adult already experienced with each craft, and for most of the crafts, access to supplemental material, such as YouTube's instructional videos. 

I don't recommend this book for the target group, which is supposed to be children ages 9 and up. I would, however, give a guarded approval of the publication as a resource for adults interested in teaching children fibre arts. As a source for small project ideas to create with children it has merit. I could see camp councilors and youth group leaders keeping it as an inspiration and reference book. 


Saturday, July 23, 2016

Saucy!

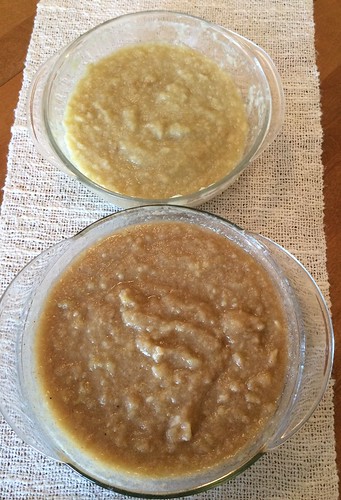
Made a couple batches of applesauce this afternoon. The dark one has had sugar and spices added. It's for serving with pancakes tonight.

Vats of homemade applesauce.

The lighter one is still plain and very TART! I'll likely use that one in baking so I didn't want to alter it until I've decided what I'm doing with it. 

Thursday, July 21, 2016

Where Was I?

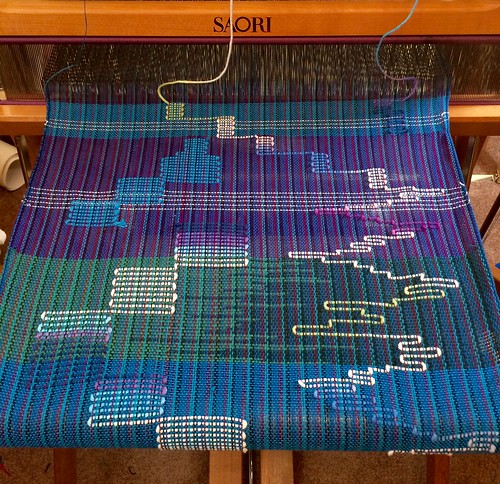
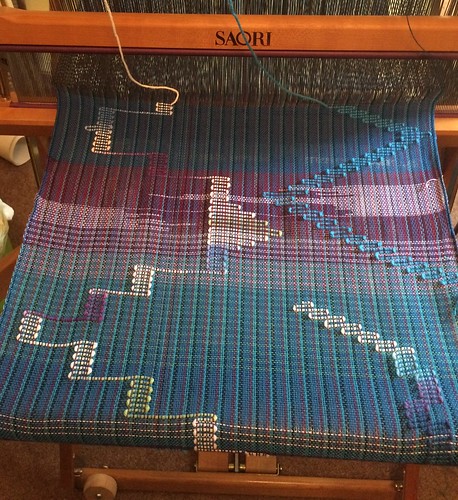
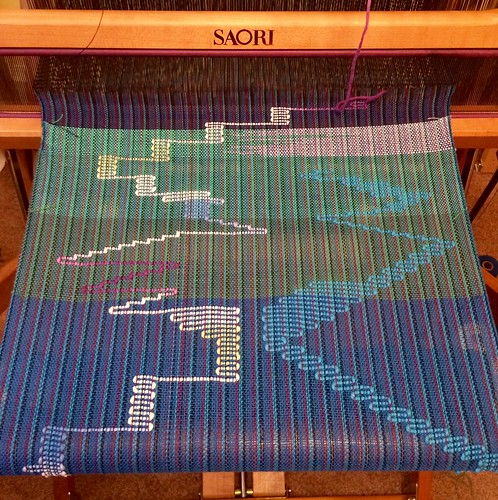
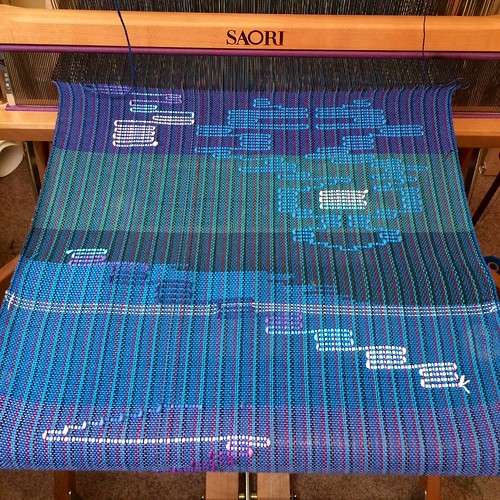
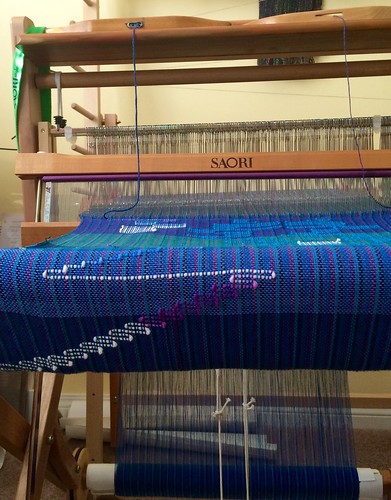
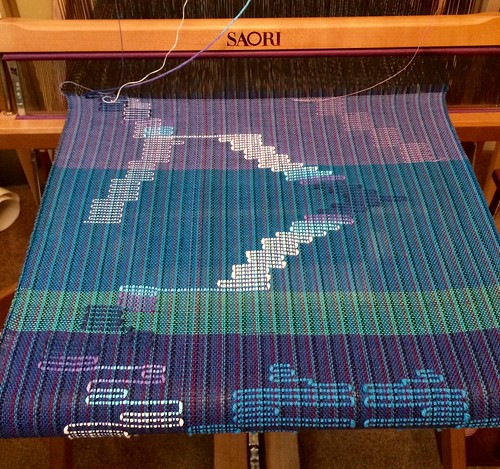
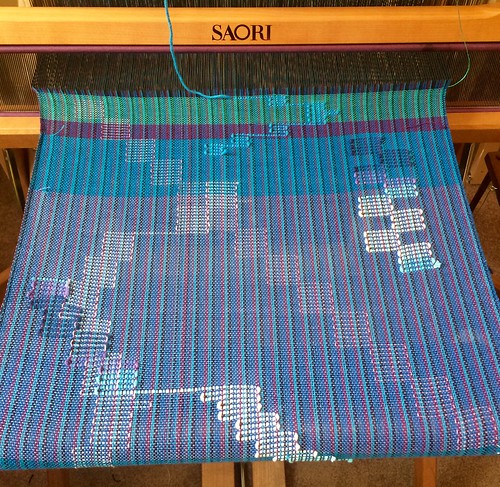
I had to check back through blog posts from last week to see which weaving photos had been posted before I was distracted and kept busy with baking and sewing. So here's an update on the weaving of the "8/2 Blues" warp.

July 8, 2016

A whole lot of wandering inlay has been going on!

Later on Friday

July 9, 2016

July 10, 2016

A lower angle.

This next one is probably my favourite bit.

July 11, 2016

The next section is where I experimented with allowing different layers of inlay to overlap and "get in each others way". Not something I'd likely repeat as I don't feel the effect is all that successful, but still, a fun experiment.

July 12, 2016

Colour is WAY off in the following photo.

July 18, 2016

I owe "sgray" from Ravelry a nod of thanks for the inspiration for this striped clasped weft section. Neat idea Sally!

clasped weft laid in stripes

I liked the effect I took another photo for you from a different angle.

striped clasped weft

And now I'm playing with stripes but allowing them to do a serpentine wander every now and then.

Stripes that wandered

The end of the warp is now in sight. I'm enjoying this last technique so maybe I'll continue on and get a section long enough for a cushion cover? Or perhaps the sleeves of a top? We'll see!

Stripes turned wandering inlay.