Translate

Showing posts with label pattern. Show all posts

Saturday, April 13, 2019

Pincushions

Ever since a boring old store bought pincushion fell apart on me, scattering sawdust power everywhere, I've been wanting to make myself not just one, but three new ones.


I ended up with six, which is a bit of overkill, but I was on a roll and thought I might as well use up the main fabric.

I used the "My Favorite Pincushion Pattern" by Darcy Ashton and made four in the Jumbo size and two cute little miniatures. The decorative "leaves" on the larger ones are cut from felted wool fabric and then appliqued in place using Ashton's well written instructions. The additional embellishing stitches are my own touch, done in a unplanned sort of way.

Why do I need three pincushions? Because in my sewing and embroidery work I use three different types of straight pins, each with a specific purpose and I don't like getting them intermingled. 


My two favourite types of pins have heads that will not melt when they come in contact with a hot iron. The extra-fine glasshead pins are excellent when sewing fine fabrics. They slide through the fabric easily and are less inclined to leave holes in delicate material. The heavier stainless steel pins on the right are my go to for any heavier fabric like canvas or denim and when working with multiple layers that tend to bend the lighter pins. I do have the new-fangled clips but find I still need pins for anything that requires securing away from an edge. Cheap pins, like the multi-coloured ones at the top of the picture, will go in the third cushion. I use those when I'm stitching away from home, taking classes as there is a good chance I will lose some. They are garbage, with plastic heads that melt, but they are easily replaced.

All links in my posts are there only for your convenience. I do NOT receive reimbursement in any way if you use them.

Friday, July 13, 2018

Upcycled Hat

A hat I like!


And it fits!


Other than the eyelets which I had to buy new, it's completely "upcycled" from old denim jeans.


I purposely left the edges exposed so that they would fray with repeated washing.


Did I mention that it FITS? I have a large head and can't buy ready made ladies hats. I made this one using the multi-sized "garden hat" pattern in the book, "Happy Hats and Cool Caps", which I picked up at "The Bookman", a used book store in town.


I'm very pleased with the end result. It is SO comfortable and provides protection from the glare of the sun on my long dog walks.


There may be others in the future. I'd like at least one more so I have something to wear when this one is in the wash.

Wednesday, April 25, 2018

Fun Little Fellow

I've been helping out as a daily volunteer in my granddaughter's classroom. That commitment has left precious little time for crafting which in turn leaves little to blog about. But there HAS been one fun little addition around here. 


I HAD been selling off my ball jointed dolls, intent on leaving the hobby. This little Dream High Studio "House Elf" enchanted me and convinced me that I was missing out on too much fun.

My original intent was to style him as a drab "old man next door" type of character -- a quiet loner into books, newspapers and other solitary activities. He went along with that idea for a brief bit but is now demanding much more colour, pattern, and FUN in his life. 

With his direction and supervision I've made him a fun new chair. Now he is refusing to get into his drab old man clothes.  He wants a new wardrobe too! "Lots of colour, pattern, and FUN, just like the chair!", says he.

Oh. And apparently I'm to make another chair. He says he's intent on wooing a lovely lady he has just met via the Internet and when she comes visiting she'll need a place to sit. 

Monday, March 27, 2017

First Tatting Project

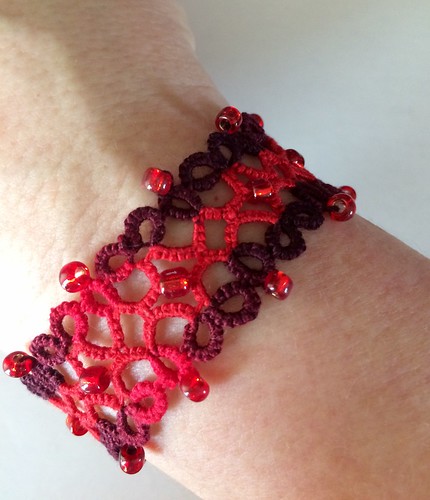
My first actual tatting project is complete and I deem it a success.

First tatted project.

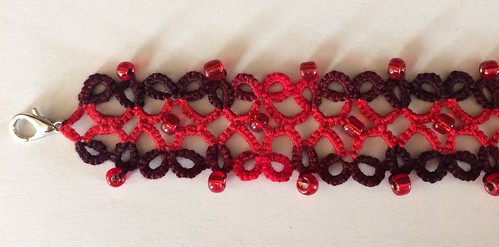
It's a beaded bracelet using the "The Starry Night" pattern by "The Kim and I".

The Starry Night pattern by "The Kim and I".

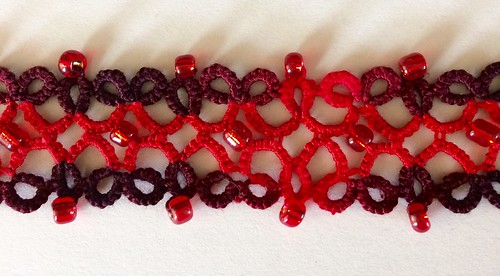
I had to look up a few YouTube videos on how to add beads to tatting, and the turn to do the opposite side gave me some grief, but neither of those issues had anything to do with the pattern, which is excellent. It was just my own inexperience and learning curve. 

The Starry Night pattern by "The Kim and I".

This was a very good pattern and I'm sure I'll be back to the Etsy shop, TheKimandI soon!


Saturday, March 26, 2016

Hoppy Easter!

A couple of monsters hopped on by to wish you a Happy Easter.


I sewed the kigurumi bunny pajamas using a pattern by DGRequiem. The costumes will be given as little Easter gifts to my granddaughters. The much battered and abused Monster High models that live in Grandma's Toybox kindly agreed to model them for my blog first.

Monday, November 16, 2015

A Coat for the Soso

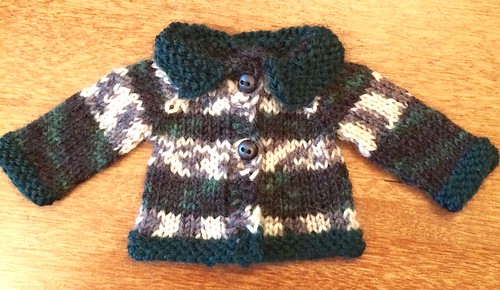
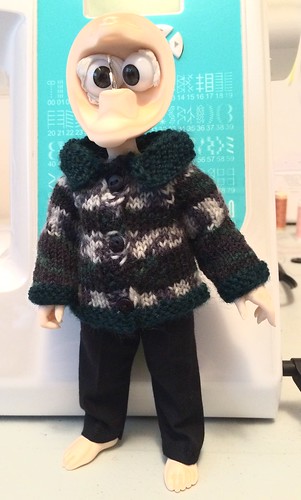
After sewing for a couple of days I was wanting a change of pace and I turned back to the knitting. This time knitting a coat for the little fella.

Working on a pattern for Realfee.

It's my own design, based loosely on the idea of the Pukifee coat I designed a few years ago. The numbers have all been changed to fit the larger doll of course. 

RF coat

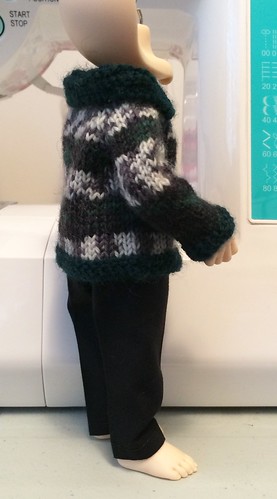
I'm very pleased with the fit, but I'm still tweaking a few minor things in the pattern itself.

Fits better over the pull-on pants than it did over the bulkier overalls.

Monday, September 07, 2015

It's About Time!

I've been hanging on to this pattern, in it's final stages before publishing, for over a year now. My original intent was to include several different designs for the same doll size all in one eBook as I had done for Pukipuki and Pukifee sized dolls. For a number of reasons that just wasn't happening. I've decided now to publish the patterns individually, as they are ready. So here, without further ado is:

  Wovenflame's Minifee Pullover


It's knit top down in fingering/sock weight yarn on 2.5mm needles at a gauge of 9 stitches and 12 rows to the INCH. Length adjustments are easy to make because the sweater can be tried on while still a work in progress.